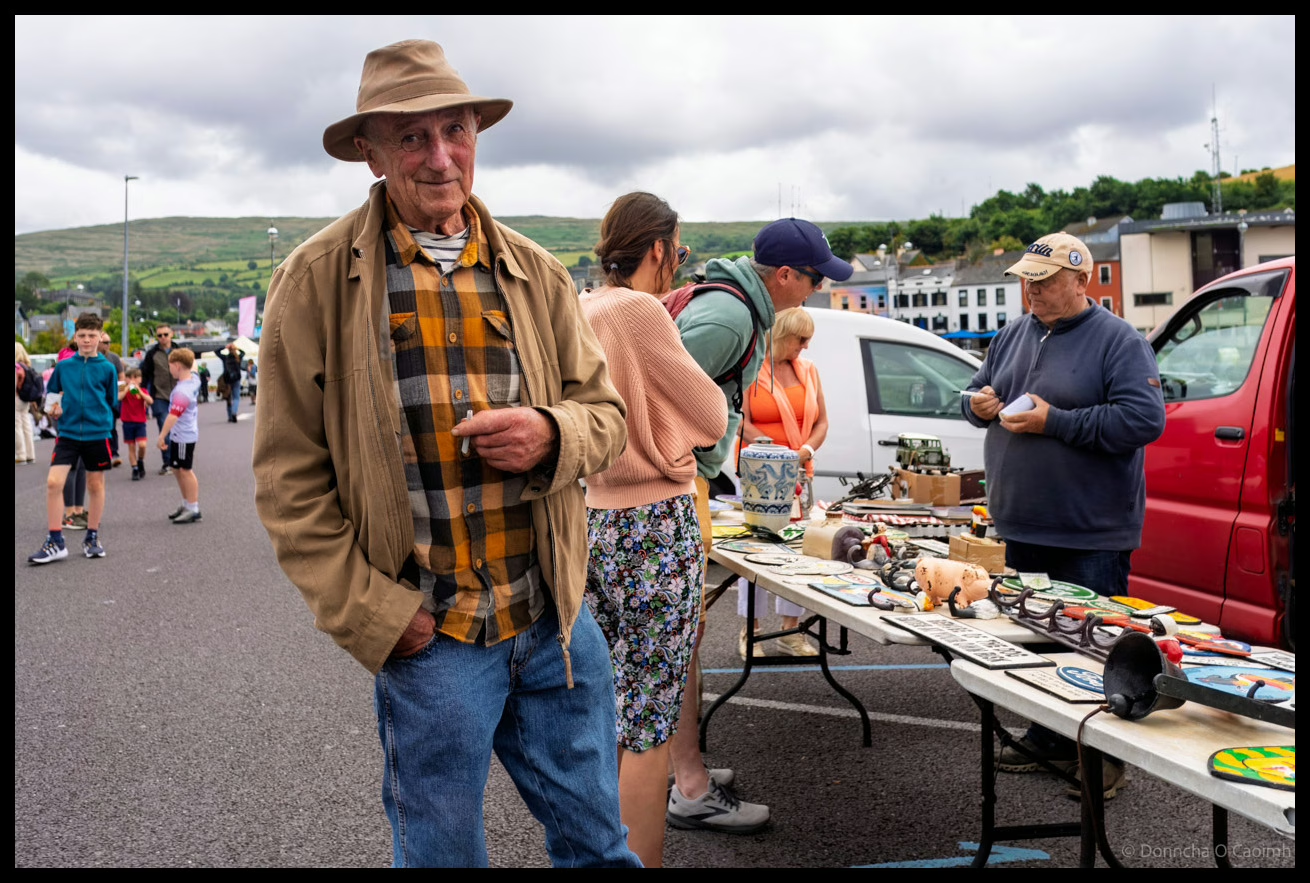
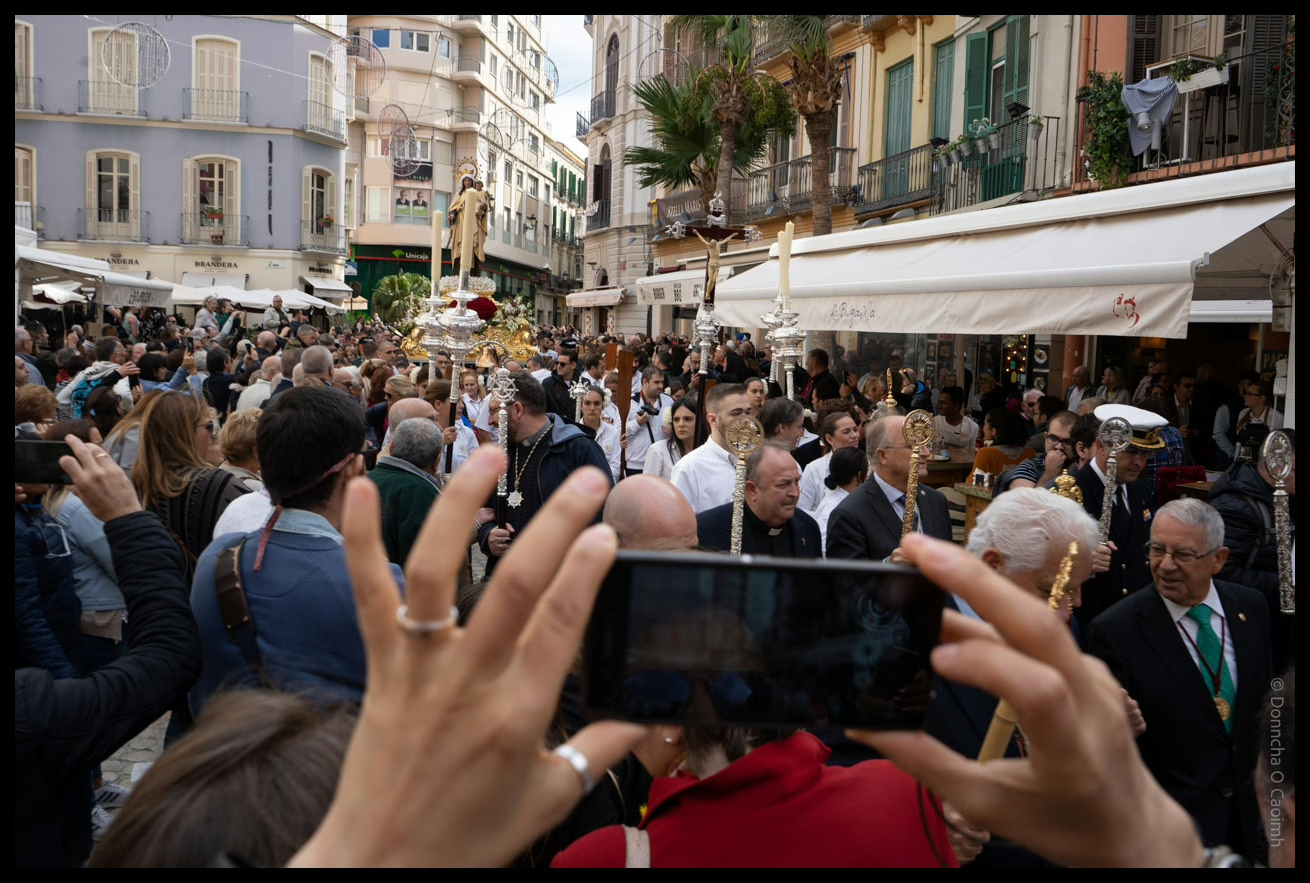
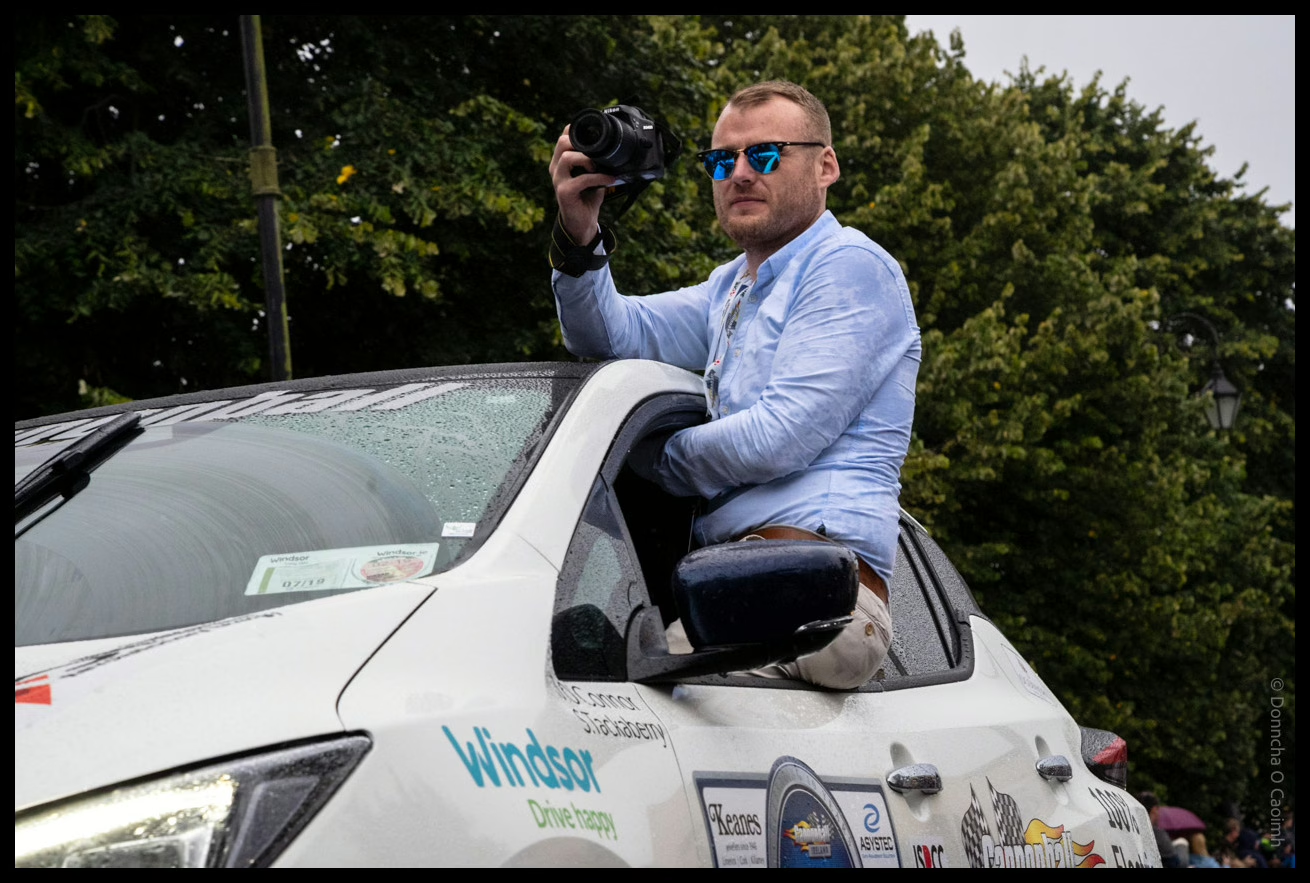
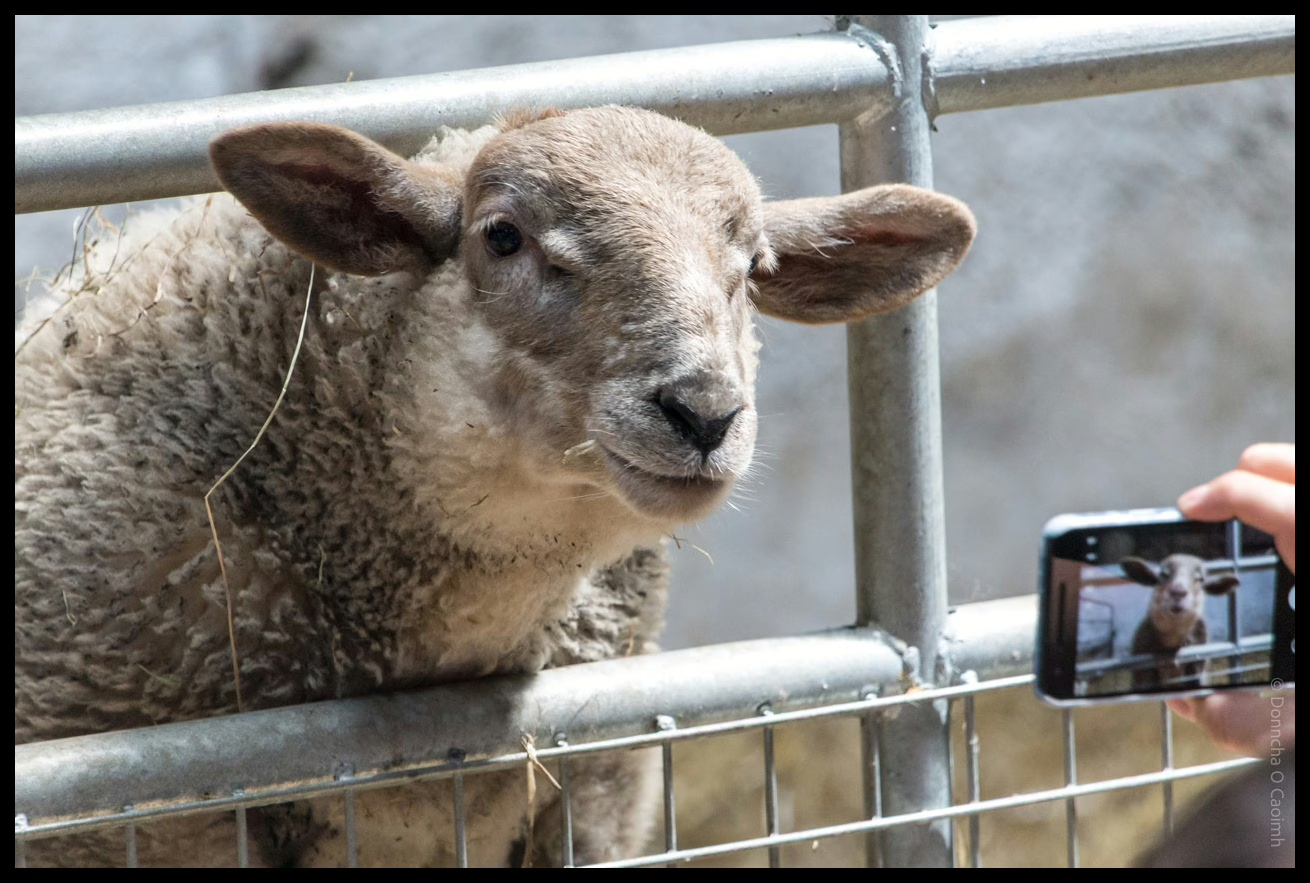
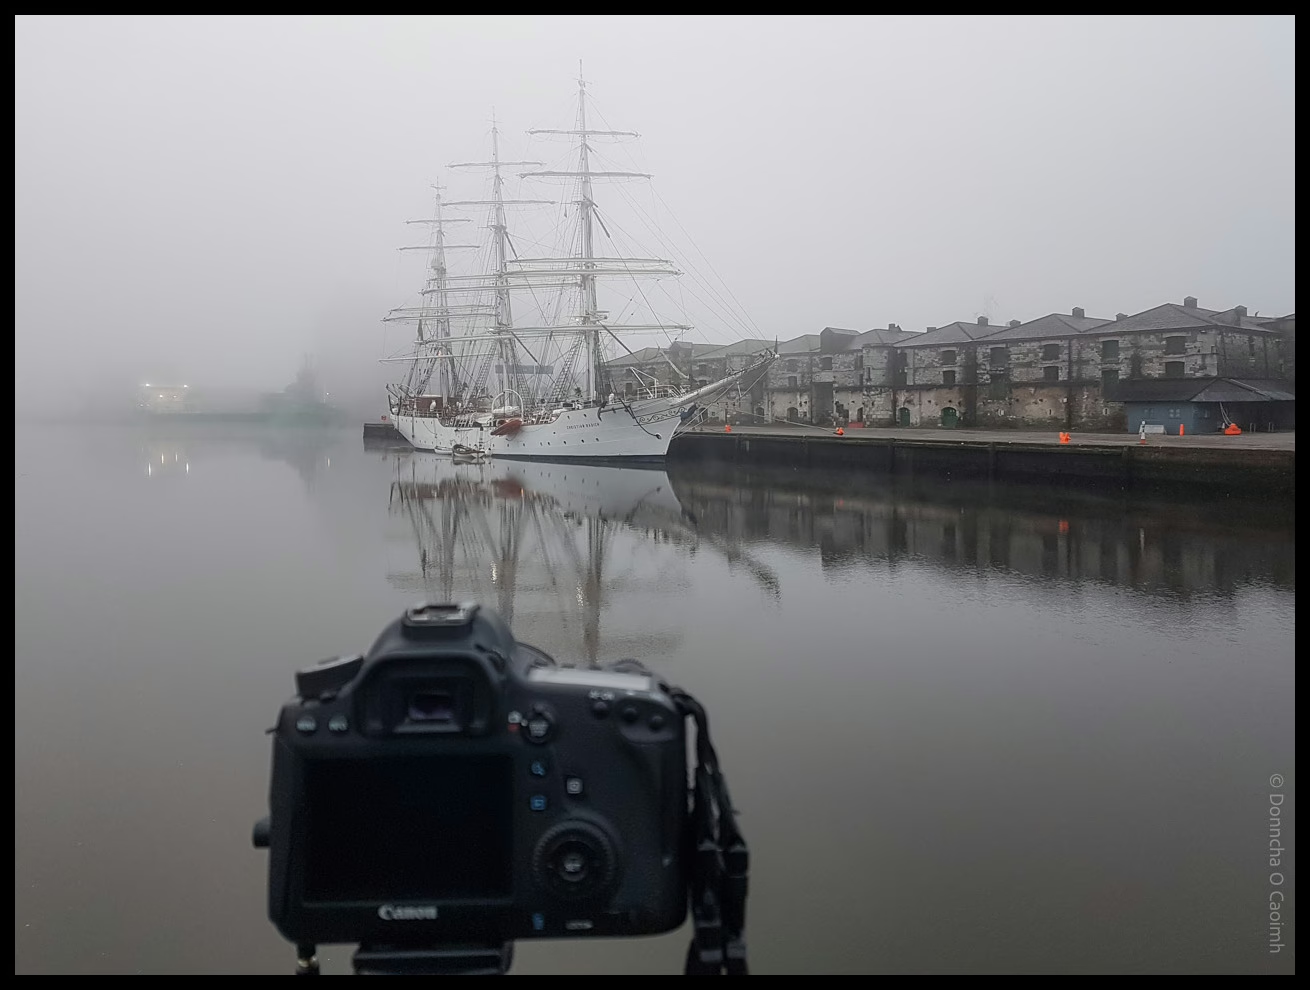
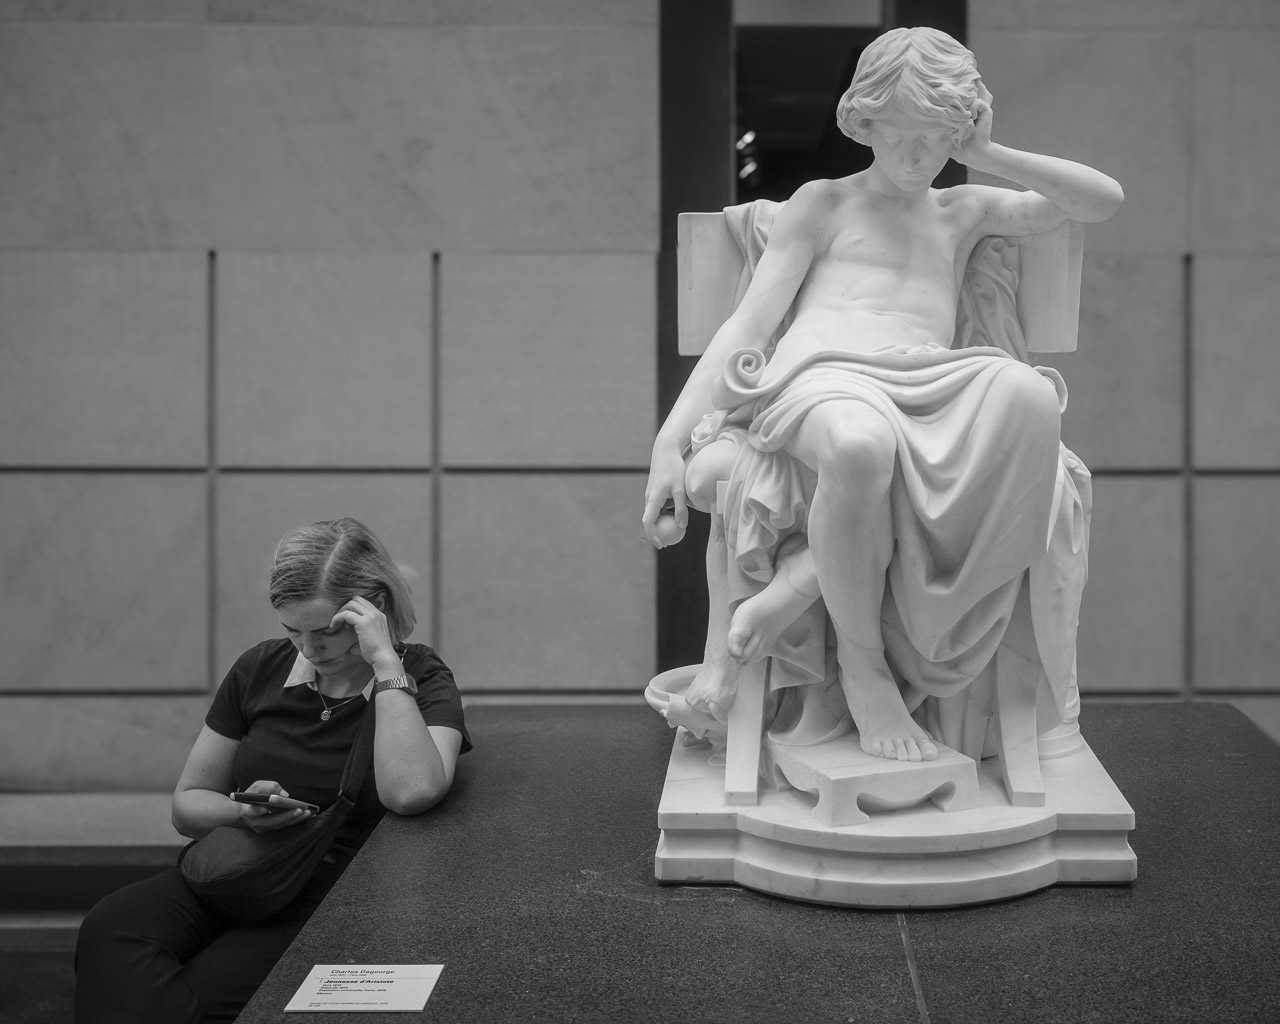
Sean Tucker gives some great advice to landscape photographers, likening landscape photography to fishing in street photography. Fishing is the act of finding an interesting place on the street and waiting for someone to walk through. I’m more of a hunter. I keep walking, looking for an interesting subject or situation, rarely stopping. You’ll see many examples of that in my Edinburgh photos.
“It’s a great place for landscape photographers to start. They’re used to fishing, to framing a composition first and waiting for the weather or light to come to them.”
I’m always wondering if I should post photography stuff on this blog here, or should I write my words about photography on my photoblog? What say you, gentle reader? Should I care at all? It’s a personal blog after all.
Geotagging your photos means adding location data to the image so they can be displayed on a map. Be aware that doing so might reveal sensitive information you’d rather keep secret like your home address.
You can of course remove location data when you export images, like I did with the images in this post.
Anyway, here is how I geotag my photos.
For photos I’ve already taken, I use Google Timeline and export it from my Google account using Google Takeout. You’ll get a rather large “Recent.json” file out of that. To convert that file into the GPX format usable by Lightroom Classic, use this Python script which I’ve already covered in this post.
When I go out with my camera now I use the Anrdoid app, OpenTracks. It’s a free app you can grab from f-droid, but there’s also a paid version on the Google Play Store if you want to support the developer. You can also use GPSLogger, a free app that has the advantage of being able to save your .gpx files to Dropbox or Google Drive.
On iOS, the myTracks app appears to do a similar job but I can’t test it. Please comment if you have tried it or know of decent alternatives.
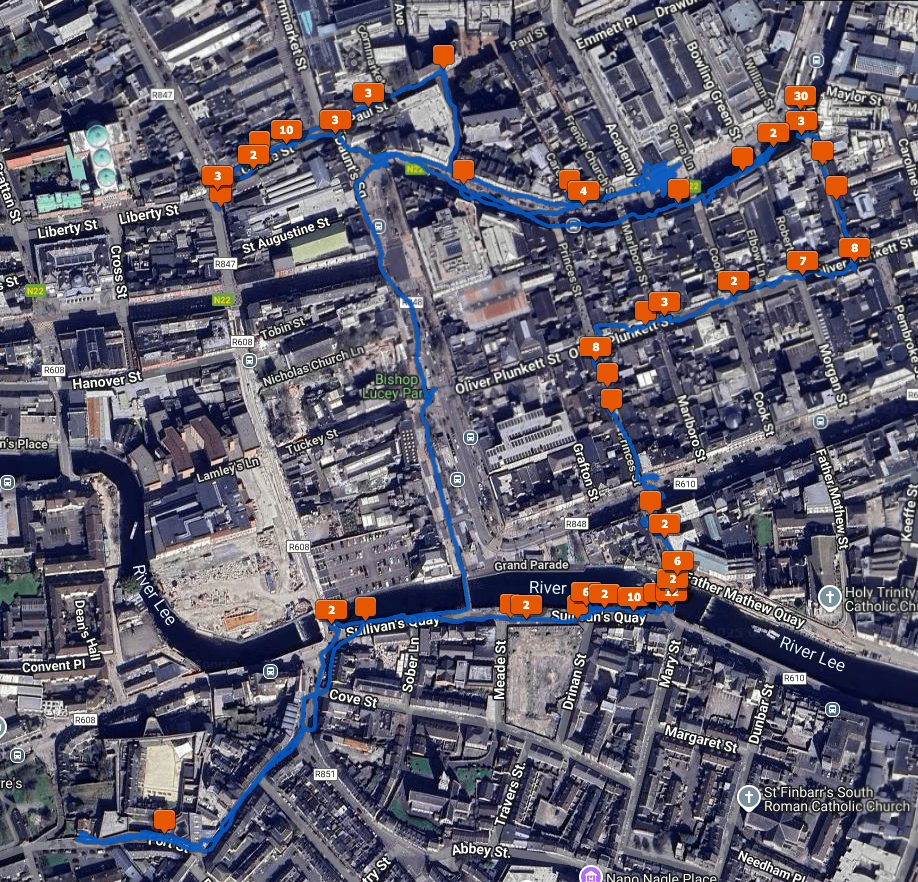
To geotag your photos in Lightroom Classic, the Adobe documentation on the subject is excellent. Once you’ve opened the Map Module and done it once it’s easy to do again. When you geotag your photos, the Map Module will look like this.
There is also Jeffrey’s “Geoencoding Support” Plugin for Lightroom that I’ve used for years but maybe it’s because of changes to LrC in recent years, it’s gotten really slow for me. I usually use the built in LrC functionality in the Maps module now.
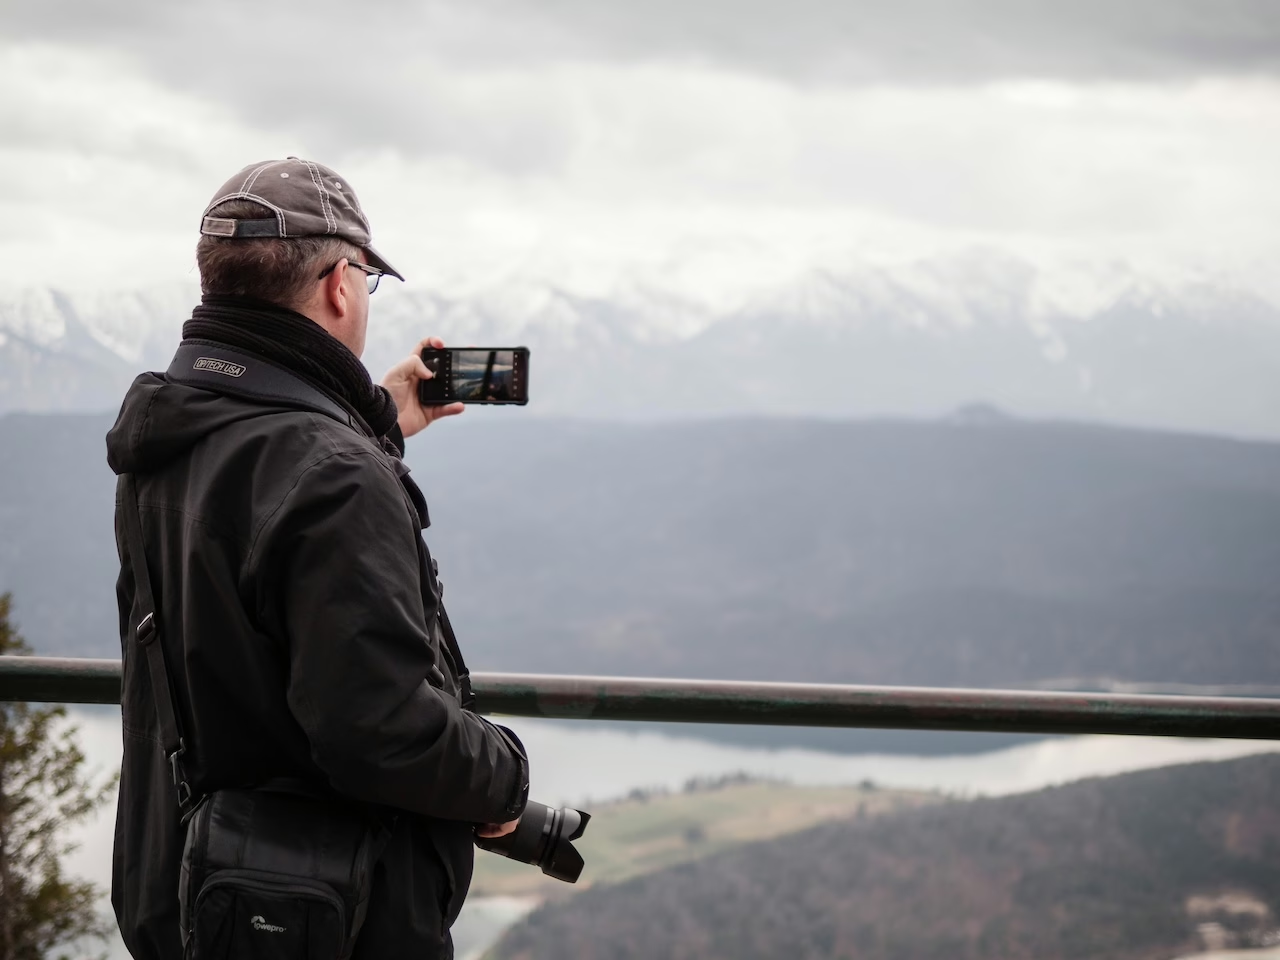
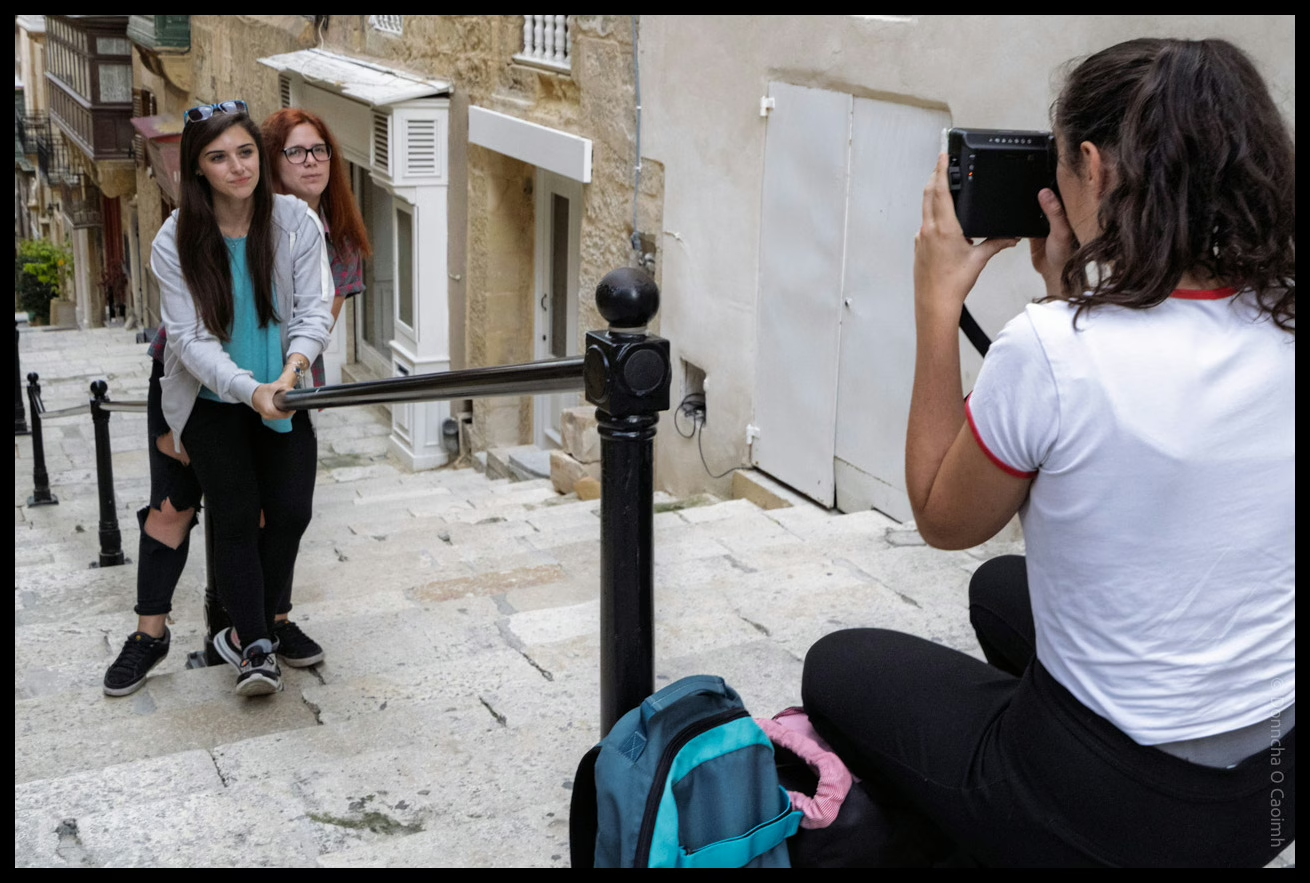
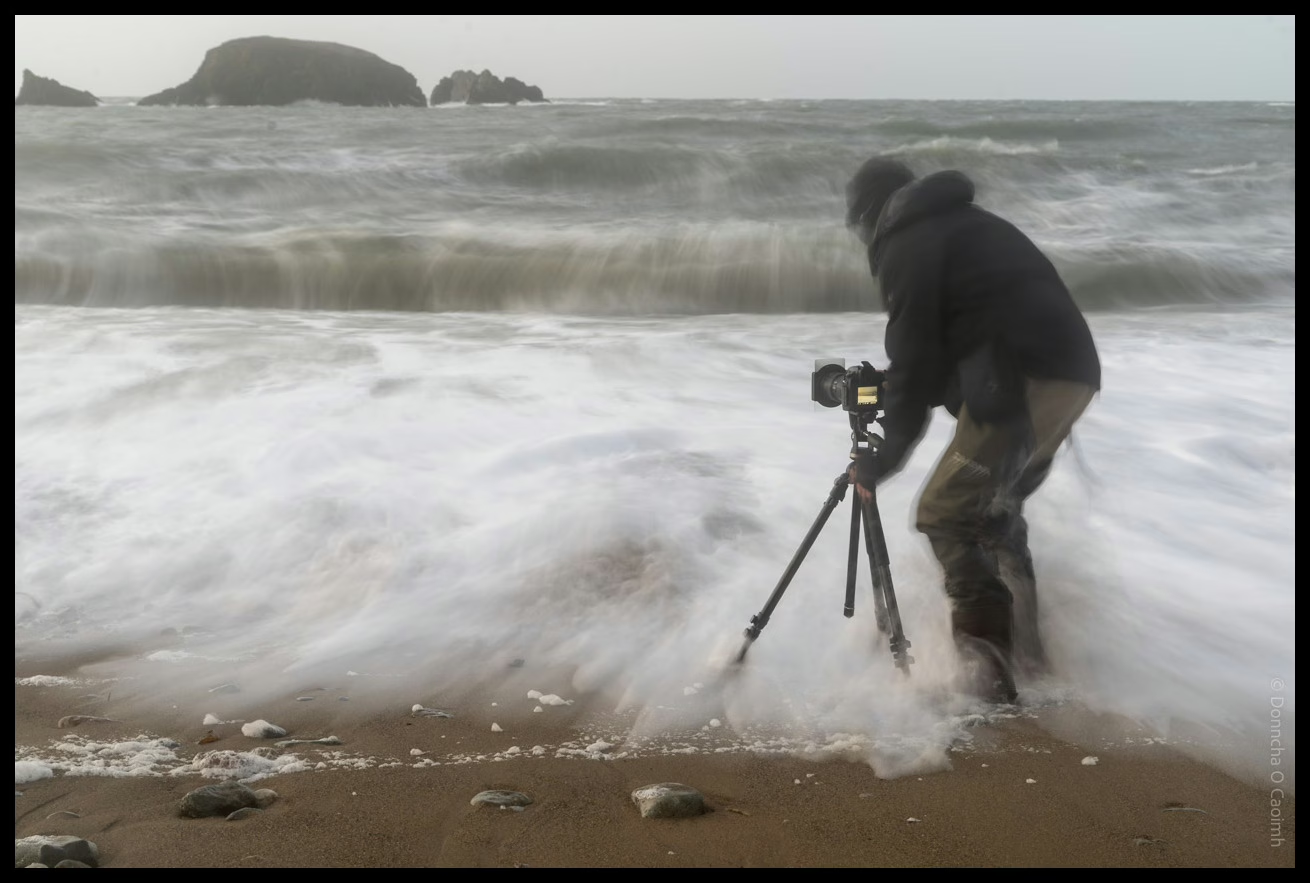
While watching Stephen Leslie’s latest video on Lee Friedlander it occurred to me I could search Google Photos and Immich for “camera” and I might get back fun photos of photographers at work.
Sure enough, it did, including many photos of people from Blarney Photography Club, and of course people in Automattic. There were also a couple of people who have since passed away which was sad to see, but still a nice memory to have. They’re not tagged nearly well enough to identify the people. I sometimes wonder what will happen to this collection when I’m no longer around to pay for backups, and make sure the external drive they’re on is working.
Have you ever converted a RAW file to lossy DNG and noticed how much smaller it was? You can make the RAW file 80-90% smaller! I always thought of lossy DNG files as JPEG files saved at a compression level of 10 or 100%. In other words, with barely anything stripped, but it’s more interesting than that.
I discovered that a panorama I made in Lightroom was a lossy DNG. After I made it, I tried converting it to lossy DNG, and the new file was the same size as the old one. So, panoramas are lossy DNG. They used to be huge files, but, in Lightroom 13.0 that changed. Adobe started using Jpeg XL instead of Jpeg to store data in lossy DNG files. Even though the files are smaller, they are higher quality than older panoramas! It’s the same with HDR and Denoise. Remember when Denoise was introduced and the files it made were gigantic?
HDR images created by Lightroom are also now saved using the same lossy DNG format. An HDR image I created in 2017 on my 24MP Sony A7III is 77MB, but using Lightroom 13.3.1 that file is only 11.9MB. When I convert the image manually to lossy DNG with an embedded medium Jpeg and fastload data, the file reduces further to 8.1MB and looks practically the same at 100%.
I haven’t noticed any major problems fixing highlights or shadows in panoramas, so lossy DNGs are pretty good, but not without their own drawbacks, which I’ll get to later.
On the Adobe forums someone noticed this last year, and received a few interesting replies:
The compression method for derived DNGs has been changed from JPEG to JPEG-XL, which provides a smaller data footprint without loss of quality.
Creating a merged DNG such as a panorama is already a “lossy” process because the merged pixel data has been demosaiced, aligned, and blended from the original photos. Using JPEG XL compression makes a much smaller visual change.
Do not look at the words ‘lossy’ and ‘lossless’, look at your image and see if there is any visible effect of this new compression method. Recreate an older panorama and compare the old massive DNG with the new, much smaller DNG. Do you have any reason to be concerned?
Before you convert all your RAW files to lossy DNG, be aware that it will affect how Lightroom treats your file in ways you mightn’t think of. Years ago, I noticed that the Transform tool worked differently on lossy DNG files. It straightened walls slightly differently, not that it looked wrong, just different. You also can’t feed DNG files to Topaz Photo AI (Files->Plugins Extra->Process with Topaz Photo AI) or Lightroom Denoise, so use those before making your panorama or making the file a lossy DNG.
This is an example of a simple image that transforms differently when it was converted to a lossy DNG file. Lens correction has been applied to both images, and they are identical then. However, when “auto” transform is applied, the lossy DNG is modified differently. This bug has been there for years. If you want to compare yourself, here is the before image, and here’s the after image.
Greg Benz has published a post on the subject too and came up with the idea of exporting images to lossy DNG “to the same folder” and adding them back to the catalogue, making it easier to compare before and after images before you delete files. He points out some other problems I never noticed with lossy DNGs, such as haloing and colour tones, and other unspecified issues with older RAW images imported before 2012.
Is it worth converting your RAW files to lossy DNG? You’ll make savings of up to 90% and that’s very tempting. A 66MB RAW file may become a 9MB lossy DNG file. If you don’t like deleting, but you’re sure you’re not going to use an image, then it may be an option for you. On the other hand, use with caution on photos you want to edit and publish.
A comment on this video suggests loading the original photo and the lossy version into Photoshop as layers and use the “difference” blend more on the top layer. You’ll notice tiny changes between the images. Since I have deleted the original RAW file of the photo above, here’s one of the lighthouse at Ballycotton.
Here’s what the difference looks like in Photoshop.
There are obvious differences when you look at it like this, but I still think it’s worth considering. Today’s photo on my photoblog, The Rocks of Ballycotton, is a lossy DNG file for example.
And finally, one thing to consider is that third-party software support for lossy DNG files might not be what you expect. I haven’t tested any of the open-source software out there, so I’m not sure how good it is. A comment on that video I linked to above says RawTherapee handled them, and that was 6 years ago, so I’m sure the situation has improved since then.
While in the process of researching this, it has been so nice to find actual open, public, online forums and blogs talking about this, and not just on Reddit either. I bet there must be plenty of conversation about it hidden in Facebook groups too. Hidden from prying eyes.
One feature in Adobe Lightroom that many don’t use often is the Map module. It’s really useful if your camera has GPS, if it can connect to your phone GPS, or if you manually drag images onto a map. I use the Sony “Imaging Edge Mobile” app to connect my camera to my phone via Bluetooth, but this drains the battery quickly when I’m out for a long time. It’s not ideal. If I want to use the Bluetooth remote control (not the app, the physical remote) I can’t use the location feature.
The changing of the guard at the Tomb of the Unknown Soldier, Athens, Greece.
The battery life of my camera when “Airplane mode” is enabled is stellar. Not so much when using a Bluetooth connection. If I know I’ll be out for an entire day, I’ll toggle it on and off and usually remember to do it on both devices, and sometimes I even make sure to check the next image has embedded GPS data!
Google Timeline is a feature that records your location data over time, using your phone’s GPS. This data can be very useful for geotagging photos because it provides a detailed record of where you’ve been. I’ve long wondered if I could use that GPS data to geotag my photos. You can export the entirety of your location data from Google using their Google Takeout tool. If you’ve had a Google account for a long time, that file will probably be well over 1GB is size if you had location sharing enabled. Unfortunately, it’s not in a format that Lightroom understands, and may contain many years worth of location data.
A few months ago, I decided to try writing a script that convert the Google Timeline JSON data into the GPX format that Lightroom wants, but I didn’t get very far, as “real life” intruded, and it was yet another project left on the long finger. I was looking forward to a day when I had sufficient time and energy to look at it.
The Temple of Poseidon in Sounion, Greece.
I’m glad I dropped it because I found someone had already created such a script, and it can consume a gigantic Records.json file. It will spit out the GPS data for any date range I want in GPX format. I discovered a Lightroom extension that makes importing that file easy, and it massages the data if a photo is taken in between points too.
The conversion script is a Python one called location-history-json-converter that can be found here. It’s relatively easy to install on Linux or macOS. If you use Windows you hopefully know how to get Python installed.
Once installed, I ran the following command to extract the GPS data I wanted for the first 17 days of May this year, and output it in the GPX format.
That produced a nice 1.3MB file from the huge Records.json file.
The Maps module in Lightroom does allow you to import tracklogs, but I’ve used it in the past, and sometimes it missed photos, maybe because my tracklog wasn’t recording points often enough. This time I used Jeffrey Friedl’s geoencoding extension for Lightroom. The ability to adjust the timezone was critical to me, as I wanted to geoencode or geotag the photos I took on a recent trip to Greece.
On the metro in Athens, Greece.
I messed up the first time and told it to adjust the timezone by 2 hours, the difference between Ireland and Greece but that was an hour out, possibly because of daylight savings time settings somewhere in the mix of camera, phone and exported data. I was really annoyed with myself over that because the plugin allows you to choose only “unmapped photos”, but now every photo was mapped. 75% of them were mapped to the wrong location!
I realised it didn’t matter because the originally geotagged images were tagged off my phone, so they had the same location data as Google Timeline. I went slower a second time, picking a couple of test images of places I knew, and by adjusting the timezone by 3 hours, I saw that it worked perfectly. I ran the job again against more than 1800 images and those images were geotagged correctly.
In the past, I used a GPS logger app to log my location to my phone. That created a GPX file, but I completely forgot I had that installed and simply used the Sony app connected to my camera for a long time. The Google Timeline data is already there because I allow Google to log that data, so it’s a handy source of this information. I can attempt to geotag years worth of photos now, but I’ll have to go slow, as I know the time on my camera drifts, so that will have to be accounted for.
If you live north of me in Europe, there’s a pretty good chance you’ll see an aurora tonight. I’m looking forward to seeing all the photos!
The US Space Weather Prediction Center has issued its first “severe geomagnetic storm watch” today for the first time in nearly 20 years.
The activity is expected to make the aurora borealis phenomenon visible across Northern Europe in the early hours of Saturday, May 11th (after midnight tonight).
John Free was a very talented street photographer in Los Angelus, who I have admired for many years. I saw on Facebook that he passed away last night. If you’re at all interested in photography, have a look at his YouTube channel, where you will get a taste of his excitement, enthusiasm and energy for photography and people.
I forgot he posted a video from the Musée D’Orsay a few years ago, but I’m extra happy that I visited there last year, and as John suggested in the video, I was able to balance the subject with the art.
If you’re of a certain age you’ll probably be familiar with Queen’s album, The Miracle. Or you might have heard of it because a “deluxe” version came out last year, with some great “sessions” versions of the original songs.
Anyway, the cover of the album is very distinctive, featuring the faces of each member of Queen merging together. It was made in the late 80s when computer image software wasn’t quite as sophisticated as now, but they still made a great job of it.
The video above shows how it was done. Really impressive work!
A few years ago, I invested in a Godox TT685s flash unit, a TT350s flash unit and X1Ts transmitter for my Sony A7III camera. Despite their potential, I rarely use them, leading to some forgetfulness about configuring their wireless transmitters. A helpful YouTube video brought back memories of the necessary settings, including the requirement that the channels used for communication between devices must match. I also remembered there was an irritating issue about them, but I couldn’t quite recall what it was.
Before a party, I tested the flashes on our Chihuahua, Diego, placing one on the floor and the other on a window sill. Both worked flawlessly, and I was excited to use them that evening. Diego is a very patient subject, sometimes anyay.
My willing test subject, Diego.
Later on, I got my camera out, successfully made a photo or two of one group, then headed to the kitchen. However, while trying to photograph the beautiful desserts there, the flash refused to fire, even after several attempts. I resorted to aperture priority mode with auto ISO, managing to snap a few shots without the flash’s assistance. Despite the hiccups, I was able to capture images.
I went around to different groups to take photos, but to my dismay, the flash wouldn’t fire as expected, leaving me to apologize for my failed attempts. Fortunately, after numerous attempts, the flash worked, but the experience was disconcerting. Eventually, I resorted to attaching the flash to the camera and was relieved when it worked perfectly. Because of the complications, I was grateful to have captured some memorable shots.
While troubleshooting why my Godox TT685s flash didn’t fire, I scoured the internet for answers. Amidst various suggestions, I stumbled upon a StackExchange post that revealed the true reason behind the problem: the Godox X1Ts transmitter and the TT685s flash were positioned too closely to each other. I remembered it was the same vexing issue that had slipped my mind earlier!
Godox added a “close mode” to their transmitters to address the issue of the X1Ts transmitter and the TT685s flash being too close to each other. While it’s unclear to me why this would affect radio signals, it’s good to know there’s a solution. A firmware update may be needed for the X1Ts, but my device has the latest one (v18). To activate this feature, hold down the TEST button while powering on the transmitter until the status light blinks for 2 seconds. The setting will reset when the device is turned off. After trying this out, I can confirm that it worked flawlessly.
I don’t use flashes much. In the future, if I encounter that same non-firing issue with my Godox X1Ts transmitter and TT685s flash, I hope I’ll remember to check my own blog first to avoid the hassle of researching it elsewhere. Hopefully, my own documentation will come in handy and save me time in the long run!
This morning I saw a notification on the Adobe “Creative Cloud” app I can get pro tips for photographing people…. etc etc. I thought it was the usual material Adobe brings out, which to be fair, is quite good, so I clicked it.
It’s odd that the news item is from a week ago, but I only saw the notification now, but that happens. The page loaded in the background while I checked other things in another window. I glanced back and saw the ublock origin was stopping a tracking redirect. Uh oh. The only thing I had loaded was that Adobe link. Curious, I let it through until it redirected to a spam page on iyfbodn.com.
I was expecting something that looked more like the website that was archived last year. A quick whois of adobeyourshotyourstory.com shows it was updated in October last year, but the domain now appears to be owned by someone in Tbilisi, Georgia!
I am very interested to hear how this happened. It’s one thing to take over a prominent domain (Adobe last mentioned the domain on Twitter in June 2022) but to get a notification in the Creative Cloud app that redirects to a spam site is quite an achievement. Unfortunately.
Close
Ad-blocker not detected
Consider installing a browser extension that blocks ads and other malicious scripts in your browser to protect your privacy and security. Here are a few options.
uBlock Origin is a free, open source, ad blocker for your browser.
Use pi-hole if you have a spare Raspberry Pi on your network.
Set the private DNS settings on your phone to dns.adguard.com to block adverts and trackers.