I’ve been using Borgmatic, a Python frontend to BorgBackup, to handle backups of my photo archive.
For a few months I had trusted macOS Time Machine to do that job, but somehow, the APFS container or something got corrupted, and I had to format a 12TB external drive to fix it. Time Machine was interrupted while making a backup and corrupted an index irreparibly. We have occasional power cuts so I did not want that to happen again.
So, back to BorgBackup. I had used it before but I wasn’t happy with how I had it configured. I don’t remember what it was now, because the reasons are lost in the mists of time. I decided to look into Borgmatic to help run BorgBackup and it made configuring it fairly easy.
Borgmatic is a configuration-based tool, so you create a .yml file defining the directories to backup, where the backup repo lives, and then run it whenever you want to create a new backup. I have it running once a day because my photo library doesn’t change that often.
Browsing BorgBackup repositories was a weak point of the system, but there are two good options:
I tried Vorta before, but you need to mount the repository to browse it, and I didn’t want to go down the route of installing a macFUSE kernel mod. However, I see from their website some promising news:
Thanks to the new FSKit backend in macFUSE, supported file systems can now run entirely in user space on macOS 26. That means no more rebooting into recovery mode to enable support for the macFUSE kernel extension. Installation is faster and setup becomes a seamless experience.
If you’re only extracting backups, you can safely ignore the popup that demands you give Vorta full-disk access.
I noticed that the Vorta app behaves like a popup window on macOS. It’s not possible to CMD-TAB to it, and it has no menu system in the top admin bar. It’s not even in the Dock. You’ll have to run it from Spotlight/Alfred/Raycast and it will be shown.
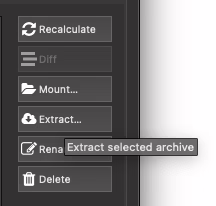
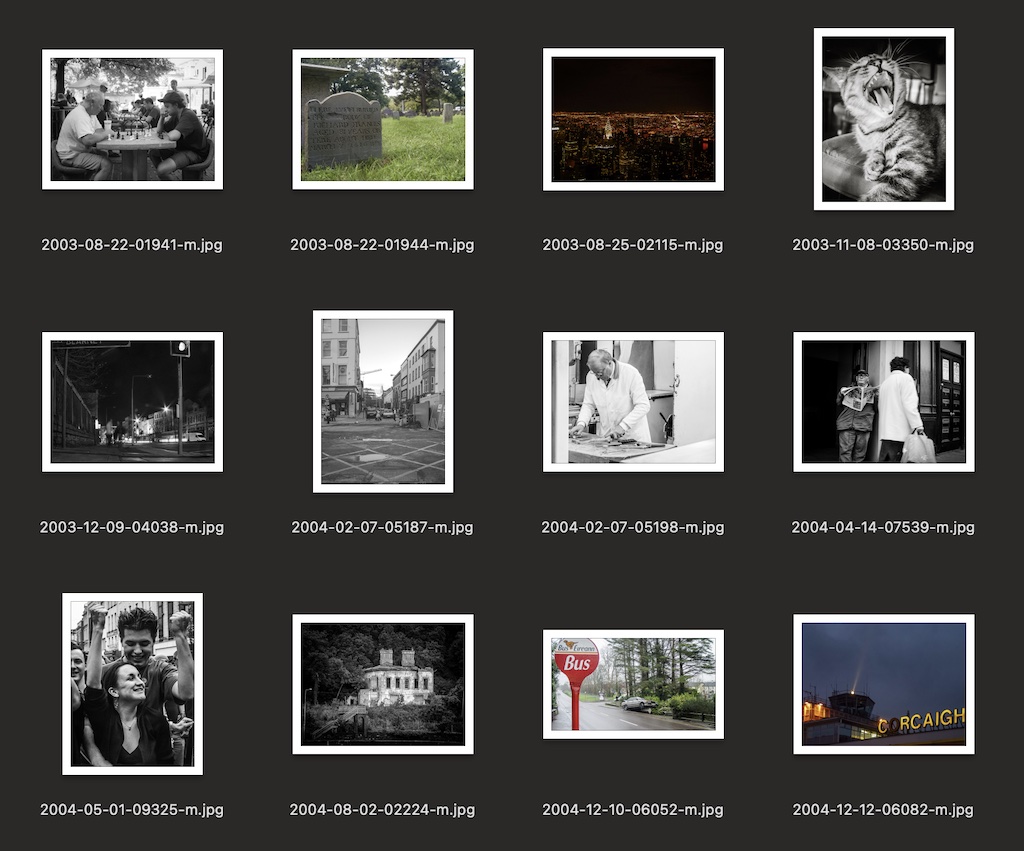
From the Archives tab, it is possible to “Extract…” from a repository that doesn’t require mounting of the backup and that does work. If you have a large repository you may see the infamous spinning colour ball if you’re using a Mac as it gets all the file info. Give it time. It may take more than a minute to show you a file listing.
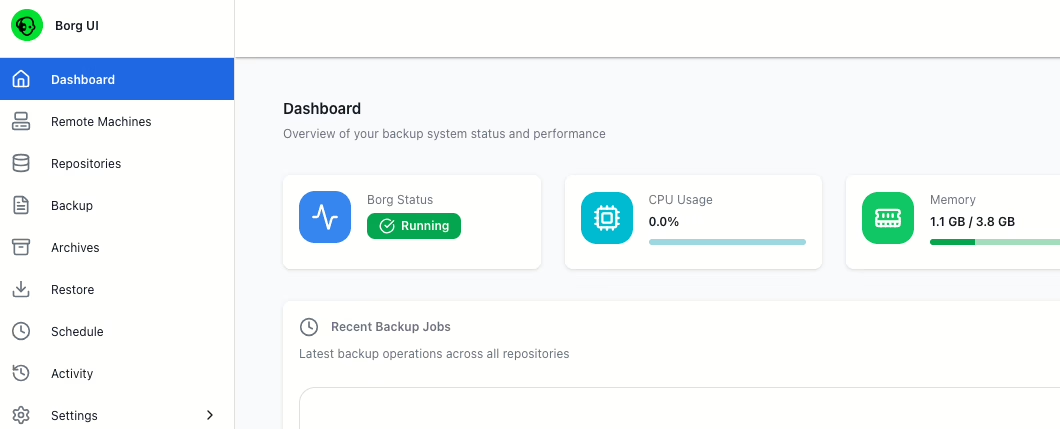
I’m also investigating a web-based borg-ui that runs in a Docker container. That allows me to restrict access only to the directories I want to back up or restore, or as I have configured it now, it only has access to the backup repositories and a restore directory. I don’t need to restore files very often so I can shut down the container and only launch it when I need to.
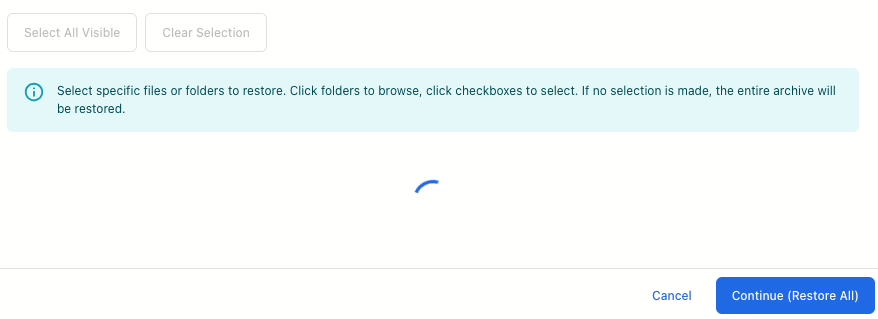
Browsing or extracting files using Borg-ui is just as slow as in Vorta, but it has a spinning animation in a modal popup to stop you from trying to restore twice.
If you’re not familiar with Docker, give Vorta a go, but borg-ui is definitely worth a look too. Don’t depend on either of them to do your backups. That should be automated so you don’t need to remember to do it.
You should of course have a remote backup, and for that I recommend Backblaze. I’ve been using them for years. Thankfully I’ve hardly ever had to restore more than a few files from them but I check it semi-regularly. Sign up through here and I’ll get a free month if you pay for it!