How to: a keyboard shortcut to lock your Mac

For many years, I was using a hot corner to lock the screen of my Mac, but I always wished there was the equivalent of Windows-L in Windows to do it.

I have no idea when this keyboard shortcut was added, but tapping the CTRL-CMD-Q shortcut will lock your Mac screen. Apparently, if you have a small magic keyboard, then CTRL-Shift-Eject will do the job too. This Stack Exchange Question shows the shortcut wasn’t available in 2015. Users had to resort to all sorts of tricks to lock their screen with the keyboard. An updated answer from 2019 reveals the shortcut, so I guess it’s at least four years old.

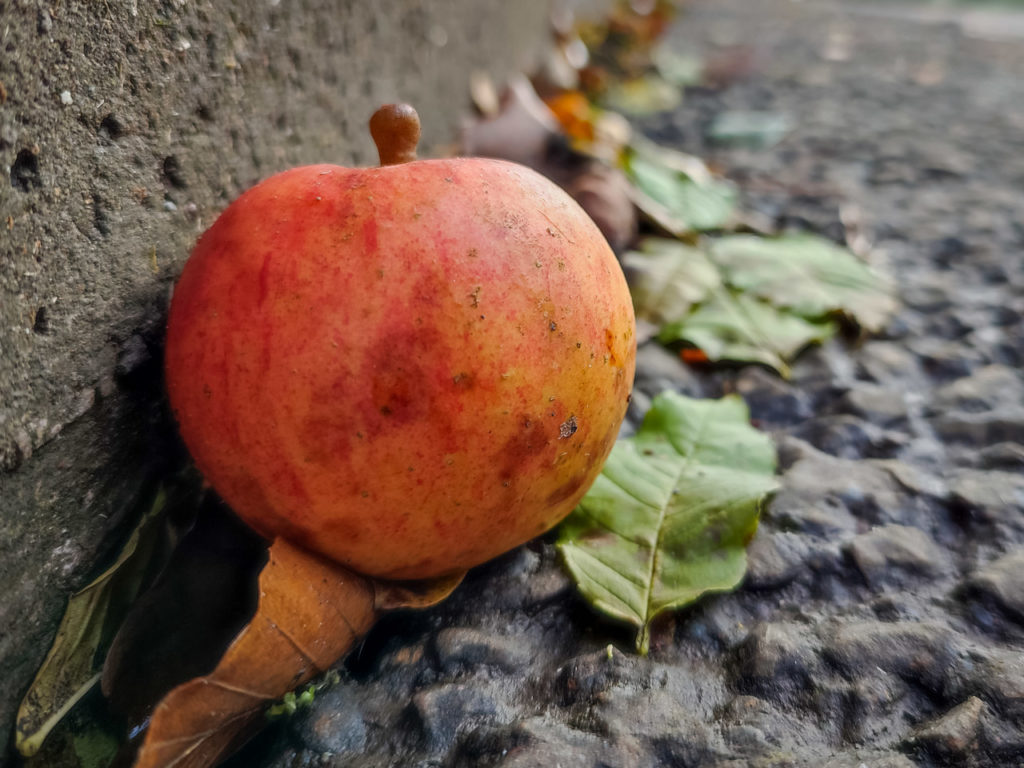
An apple on the side of the road
An apple on the ground. Like shortcuts, you never know what you’ll find.

Hot corners are great and all, but I’ve had so much trouble making sure the cursor stayed in the corner. I’d watch to make sure my mouse didn’t move, and the screen remained locked. Otherwise, I turn my back, I’m heading out the door and the screen lights up again!

Loads more keyboard shortcuts here if you’re interested in that sort of thing. That page may also explain why something strange happened on your computer while you were typing into the wrong window and changed a Finder setting, for instance.

Have fun getting locked.

HOW-TO: get rid of the screenshot preview in macOS

A good few years ago, Apple changed how their screenshot function (CMD+SHIFT+4) worked by adding a small preview before it was saved. This allows you to edit the screenshot before it’s saved and used.

I can count on the fingers of one hand the number of times I used that to edit the screenshot. More often than not, I (metaphorically) drummed my fingers waiting the couple of seconds it took for the preview to disappear, so I could upload or do something with the screenshot.

How do I get rid of it? I looked around for a solution ages ago, but my Google-fu failed me. Last year I looked again, and I found this post that describes how it’s done.

Because this is probably something you want to do but never realised it, I’ll repeat what they said there. This is how you stop the floating thumbnail preview when you take a screenshot in macOS. It’s so easy!

  1. Press CMD+SHIFT+5 to launch the screen capture app.
  2. Click on Options.
  3. In that menu deselect “Show Floating Thumbnail”.

So simple, but it will save many precious seconds throughout my day!

Many years ago I set the location of screenshots to a screenshots folder, so I have been into that options menu. Maybe the floating thumbnail setting wasn’t there at the time.

HOWTO: Fix missing Thumbnails in Finder

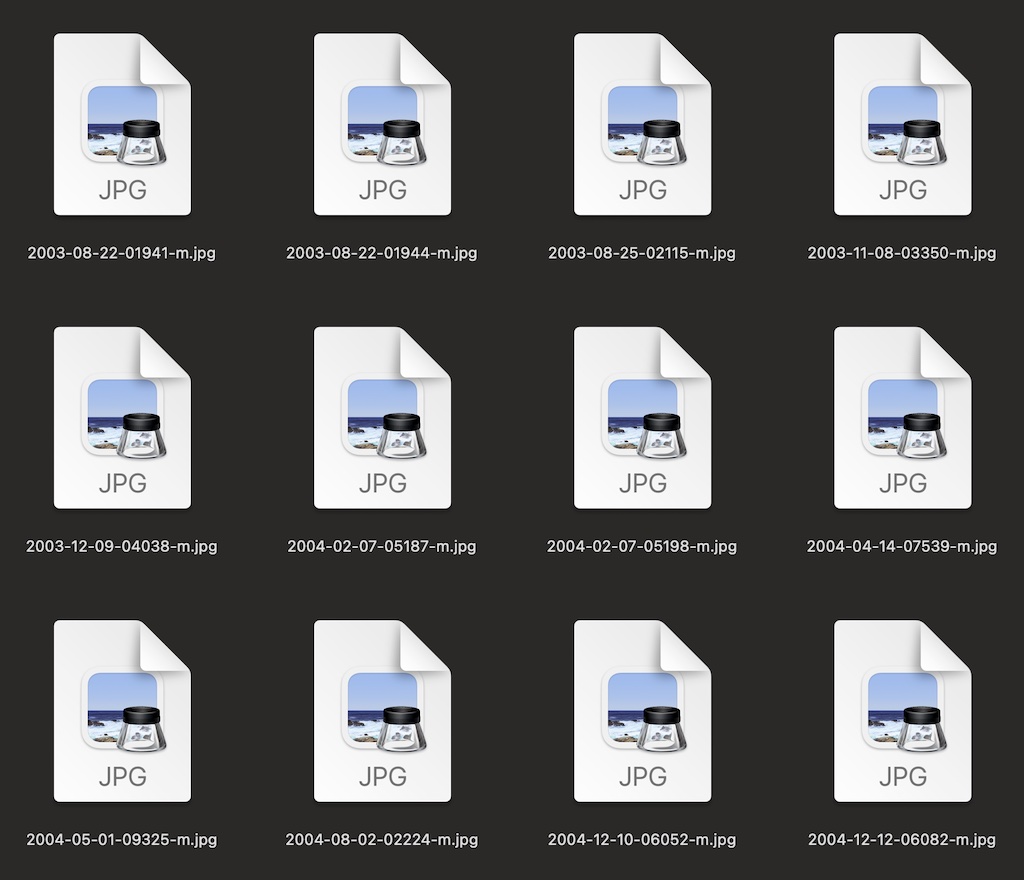
I recently upgraded to macOS Monterey (yeah, finally) and immediately noticed that previews of new images weren’t showing up in Finder.

Old images did have a preview image so something was wrong with how previews were generated.

Searching online, I found a few solutions, including one that involved deleting the Finder configuration file (plist file) which may have worked in 2009 or 2012 but that was long ago and it doesn’t work now.

So, to save you doing that and having to resize your favourite Finder windows and configure settings again, the answer is very simple and I found it here.

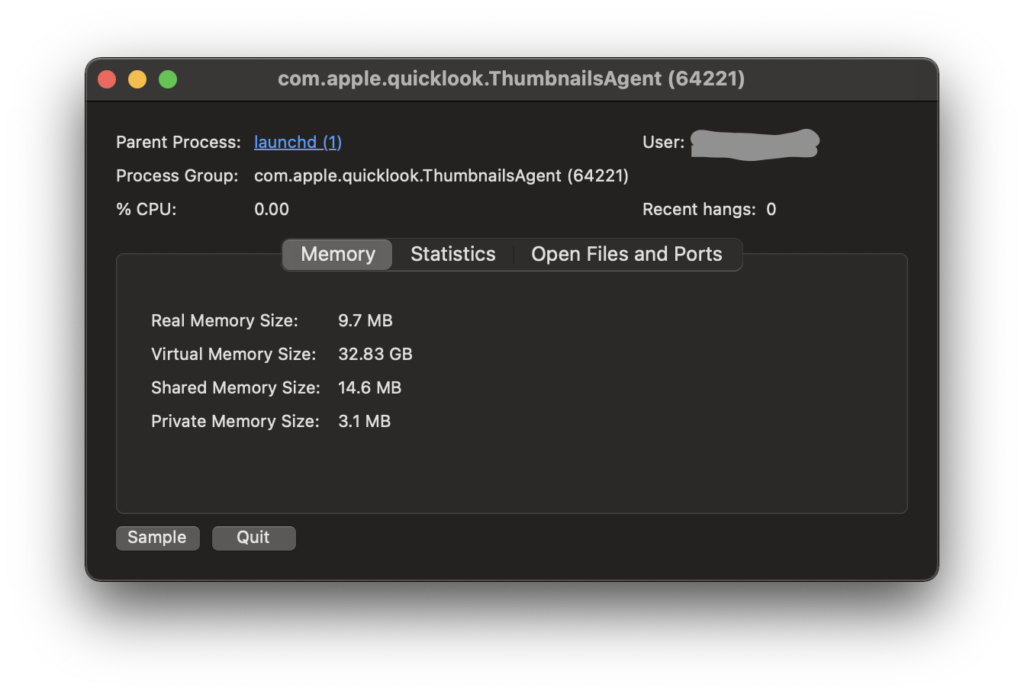
Load up Activity Monitor and search for com.apple.quicklook.ThumbnailsAgent. Double click on it and force it to quit.

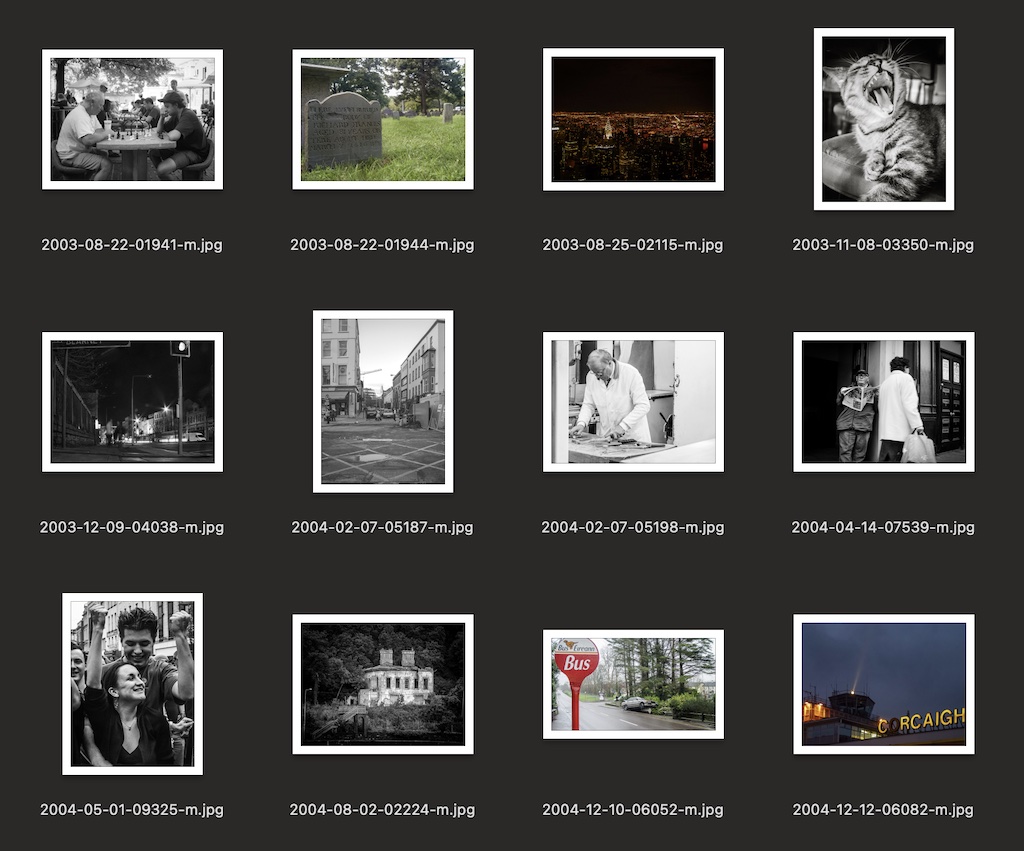
CMD-right click on Finder in the dock and relaunch Finder and your thumbnails should now appear in all their tiny glory.

I’m writing this here because apparently this happens to people over and over again. While it’s the first time I’ve seen this problem it probably won’t be the last.

error: btn: invalid btn_btree.bt_key_count

I recognised the symptoms:

  1. Excessive disk trashing.
  2. General slow down.
  3. Backblaze and Time Machine causing the rainbow spinner.

My filesystem needed first aid. I think I can trace this back to the latest macOS update. I swear that half the updates cause filesystem corruption of some sort, but it also feels like I’m running First Aid at least once a month anyway!

Unfortunately for me, the error this time was:

error: btn: invalid btn_btree.bt_key_count

Apparently Diskutil can’t fix that error. The only thing you can do is erase the drive, reinstall MacOS and then restore your data. I was dreading it.

I have a Time Machine backup but I decided to make another backup of my home directory, while logged into another account. Lucky I did as an IO error showed up in Library/Caches/ – thankfully I think in an Apple app I don’t use.

I expected the business of restoring everything to be awful, but in the end the MacOS installer fired up Migration Assistant which let me restore my last Time Machine backup.

With that done it was time to install Brew again. The first package to go back in was coreutils but “brew reinstall” has a bug where it won’t accept parameters. I should have used “install” but “reinstall” with  “–with-default-names” doesn’t work. Also coreutils and related packages are “keg-only” now so no symlinks to /usr/local/bin are made. You have to run “brew link” to link all the commands. It was a simple job then to rename each file, removing the “g” prefix.

I’ll find more things as I go that aren’t configured I’m sure, but thankfully restoring from Time Machine made the job much easier!

High Sierra and coreutils

Since MacOS High Sierra has been out for a long time this is probably old news to the tiny minority using coreutils. When you upgrade you might find that “df” and other commands don’t work properly.

Every time I opened a terminal after upgrading I saw errors saying commands had been aborted. When I ran “df” it would abort immediately.

I thought the upgrade had damaged my filesystem, especially since it introduced APFS. I ran “First Aid” in Disk Utility several times, both live and in recovery.

It then occurred to me to try the MacOS df in /bin/. It worked!

Coreutils is the package that includes lots of command line tools like “df”. I installed it using brew so the following fixed the problem:

brew reinstall coreutils

I noticed it put everything in /usr/local where my original commands were in /opt/ so changing the PATH in my .zshrc was necessary too. Everything was back to normal again! 🙂

EDIT: Some other commands were messed up. “find” had changed, but then I realised it probably isn’t in coreutils and I was using the MacOS version. This page led me to the right package names and the following command line:

brew reinstall coreutils findutils gnu-tar gnu-sed gawk gnutls gnu-indent gnu-getopt --with-default-names

The “–with-default-names” parameter restores the original filenames, removing the “g” prefix. Everything outside of the coreutils went in /usr/local/bin/ which I made sure was added to the path too.

Unmount USB drives from a script in macOS

I have a number of external drives hanging off my laptop, but sometimes I want to disconnect them. I used to go into Finder and click the eject button but I have five drives now so that’s getting unwieldy.

There are a few different ways of doing this. I wrote a small BASH script based on information here.

I created a shell script on my Desktop, added the following, changing DRIVE to the volume path for each of my external drives:

osascript -e ‘do shell script “diskutil unmountDisk /Volumes/DRIVE”‘

After creating that script I made it executable with chmod +x and as I use iTerm2 as a terminal I associated .sh files with that (Finder, right click on script, Get Info->Open With).
Every time I double click the script a new tab opens in iTerm2 and I see the progress of the unmount commands!

Do more with your old MacBook

Have you got an old MacBook that Apple doesn’t support any more? Can’t install the latest and greatest version of Mac OS X on it because the CPU is too old? You’re probably seeing a warning from Chrome that Google has discontinued support for Mac OS X 10.5.3 or whatever is on that ancient beast? It’s the same with Firefox.

Flash isn’t updated either and when you go to Youtube to watch a video Chrome shows you an ugly warning that it’s outdated. Frustrating isn’t it?

What’s more, you’re probably leaving yourself open to exploits by nasties on the Internet. Problems and bugs are found in Flash all the time. Browsers and operating systems are the same too but if that software isn’t actively updated then you’re out of luck. I discovered Opera browser is still built for these old machines and it’s fast but Flash was still a problem and I needed a better solution.

As unlikely as it may seem on an Apple computer, it’s Linux that came to the rescue!

I didn’t think I could put Linux on the MacBook as there was no Bootcamp to dual boot the machine. Thanks to I found the MacBook help pages for Ubuntu which pointed me towards rEFIt, a “boot menu and maintenance toolkit for EFI-based machines like the Intel Macs.” Even on an old MacBook 4,1 I could install Linux!

Installing rEFIt was simple enough, just run the package installer when I mounted the .dmg file. However the boot menu didn’t appear, even after several reboots until I pressed down ALT while rebooting.

Partitioning was a problem. I used the command line diskutil tool as suggested here but ran into problems because it couldn’t do a live resize. It would report that it ran out of space or there were too many deep links. Luckily the Ubuntu install CD comes with Gparted and after booting into the live CD I ran that and freed up 40GB of space for my new Linux install. A couple of reboots later to verify everything was working and then on to Linux!

Thankfully I didn’t run into the problems a recent Ars reviewer of Ubuntu Linux 12.10 came across. Linux installs are getting simpler and simpler. I told it to install alongside Mac OS X and let it set up partitions.

The WIFI adaptor in the Macbook requires a proprietary driver and after hooking the laptop up to an ethernet cable I started updating packages. While doing that I looked in the System settings and discovered that Ubuntu had installed the right driver without my prompting! I’m not sure when that happened but WIFI has been rock solid since.

Time to install Opera, the restricted packages (mp3 and dvd playback, etc), Java for Minecraft and finally Minecraft. Getting a Minecraft icon for Unity was a pain and I can’t find the script I used now but some quick Google-fu will find it.

Linux on the MacBook is nice and fast, even with Unity on there. I may replace that with a lighter window manager if it becomes a problem but it’s much improved on older releases. If you have an old MacBook and you don’t need some proprietary software that isn’t available for Linux then you should definitely put Linux on there. You’ll have the security of using updated software and a nice new desktop and apps to play around with!

Windows screenshots on a Macbook Pro laptop

Creating a screenshot in Windows is normally simple. Press Print Screen, fire up paint and paste it in. However what do you do when you have a laptop keyboard without a PRT SCN button?

It’s rather simple actually, thanks macrumors people.

To create a screenshot on a Macbook Pro laptop press either fn+shift+F11 or fn+ALT+F11. The latter one grabs a single window. Fire up paint and CTRL-v those pixels in!