One UI 7 on the S23U: Fix the notification pull down

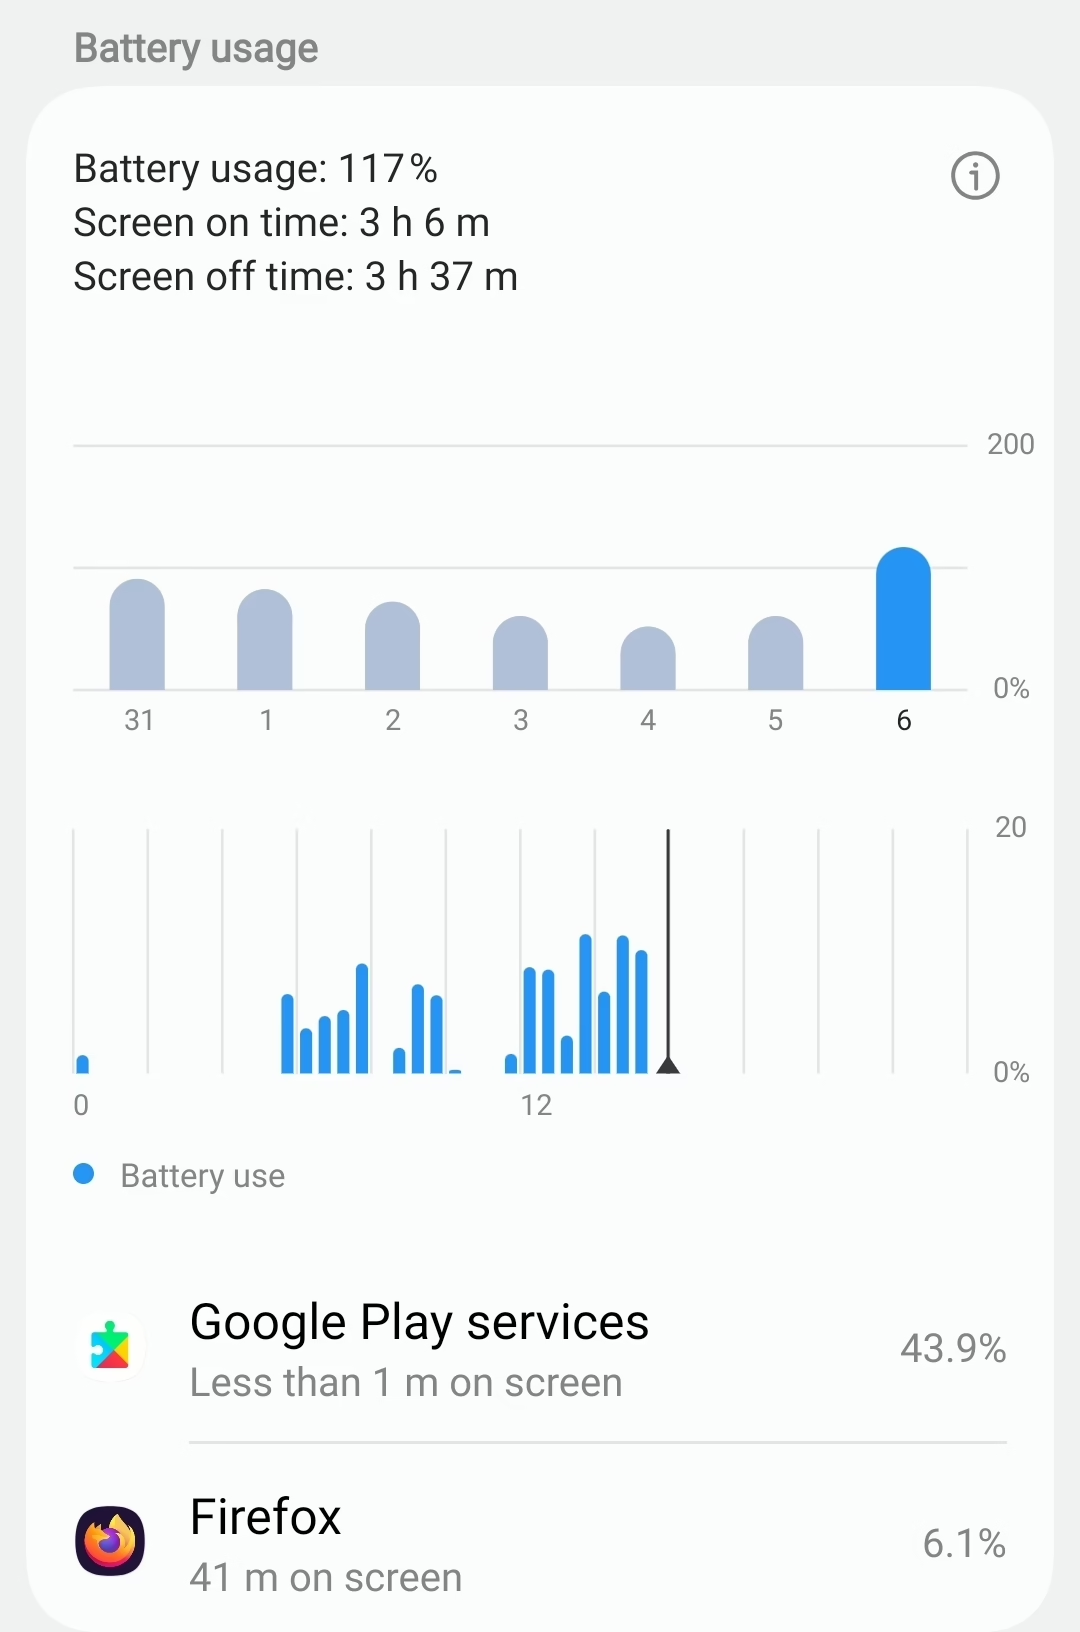
I upgraded my Samsung Galaxy S23Ultra a few days ago to One UI 7, or Android 15 and it has mostly been a good upgrade, but it hasn’t been perfect.

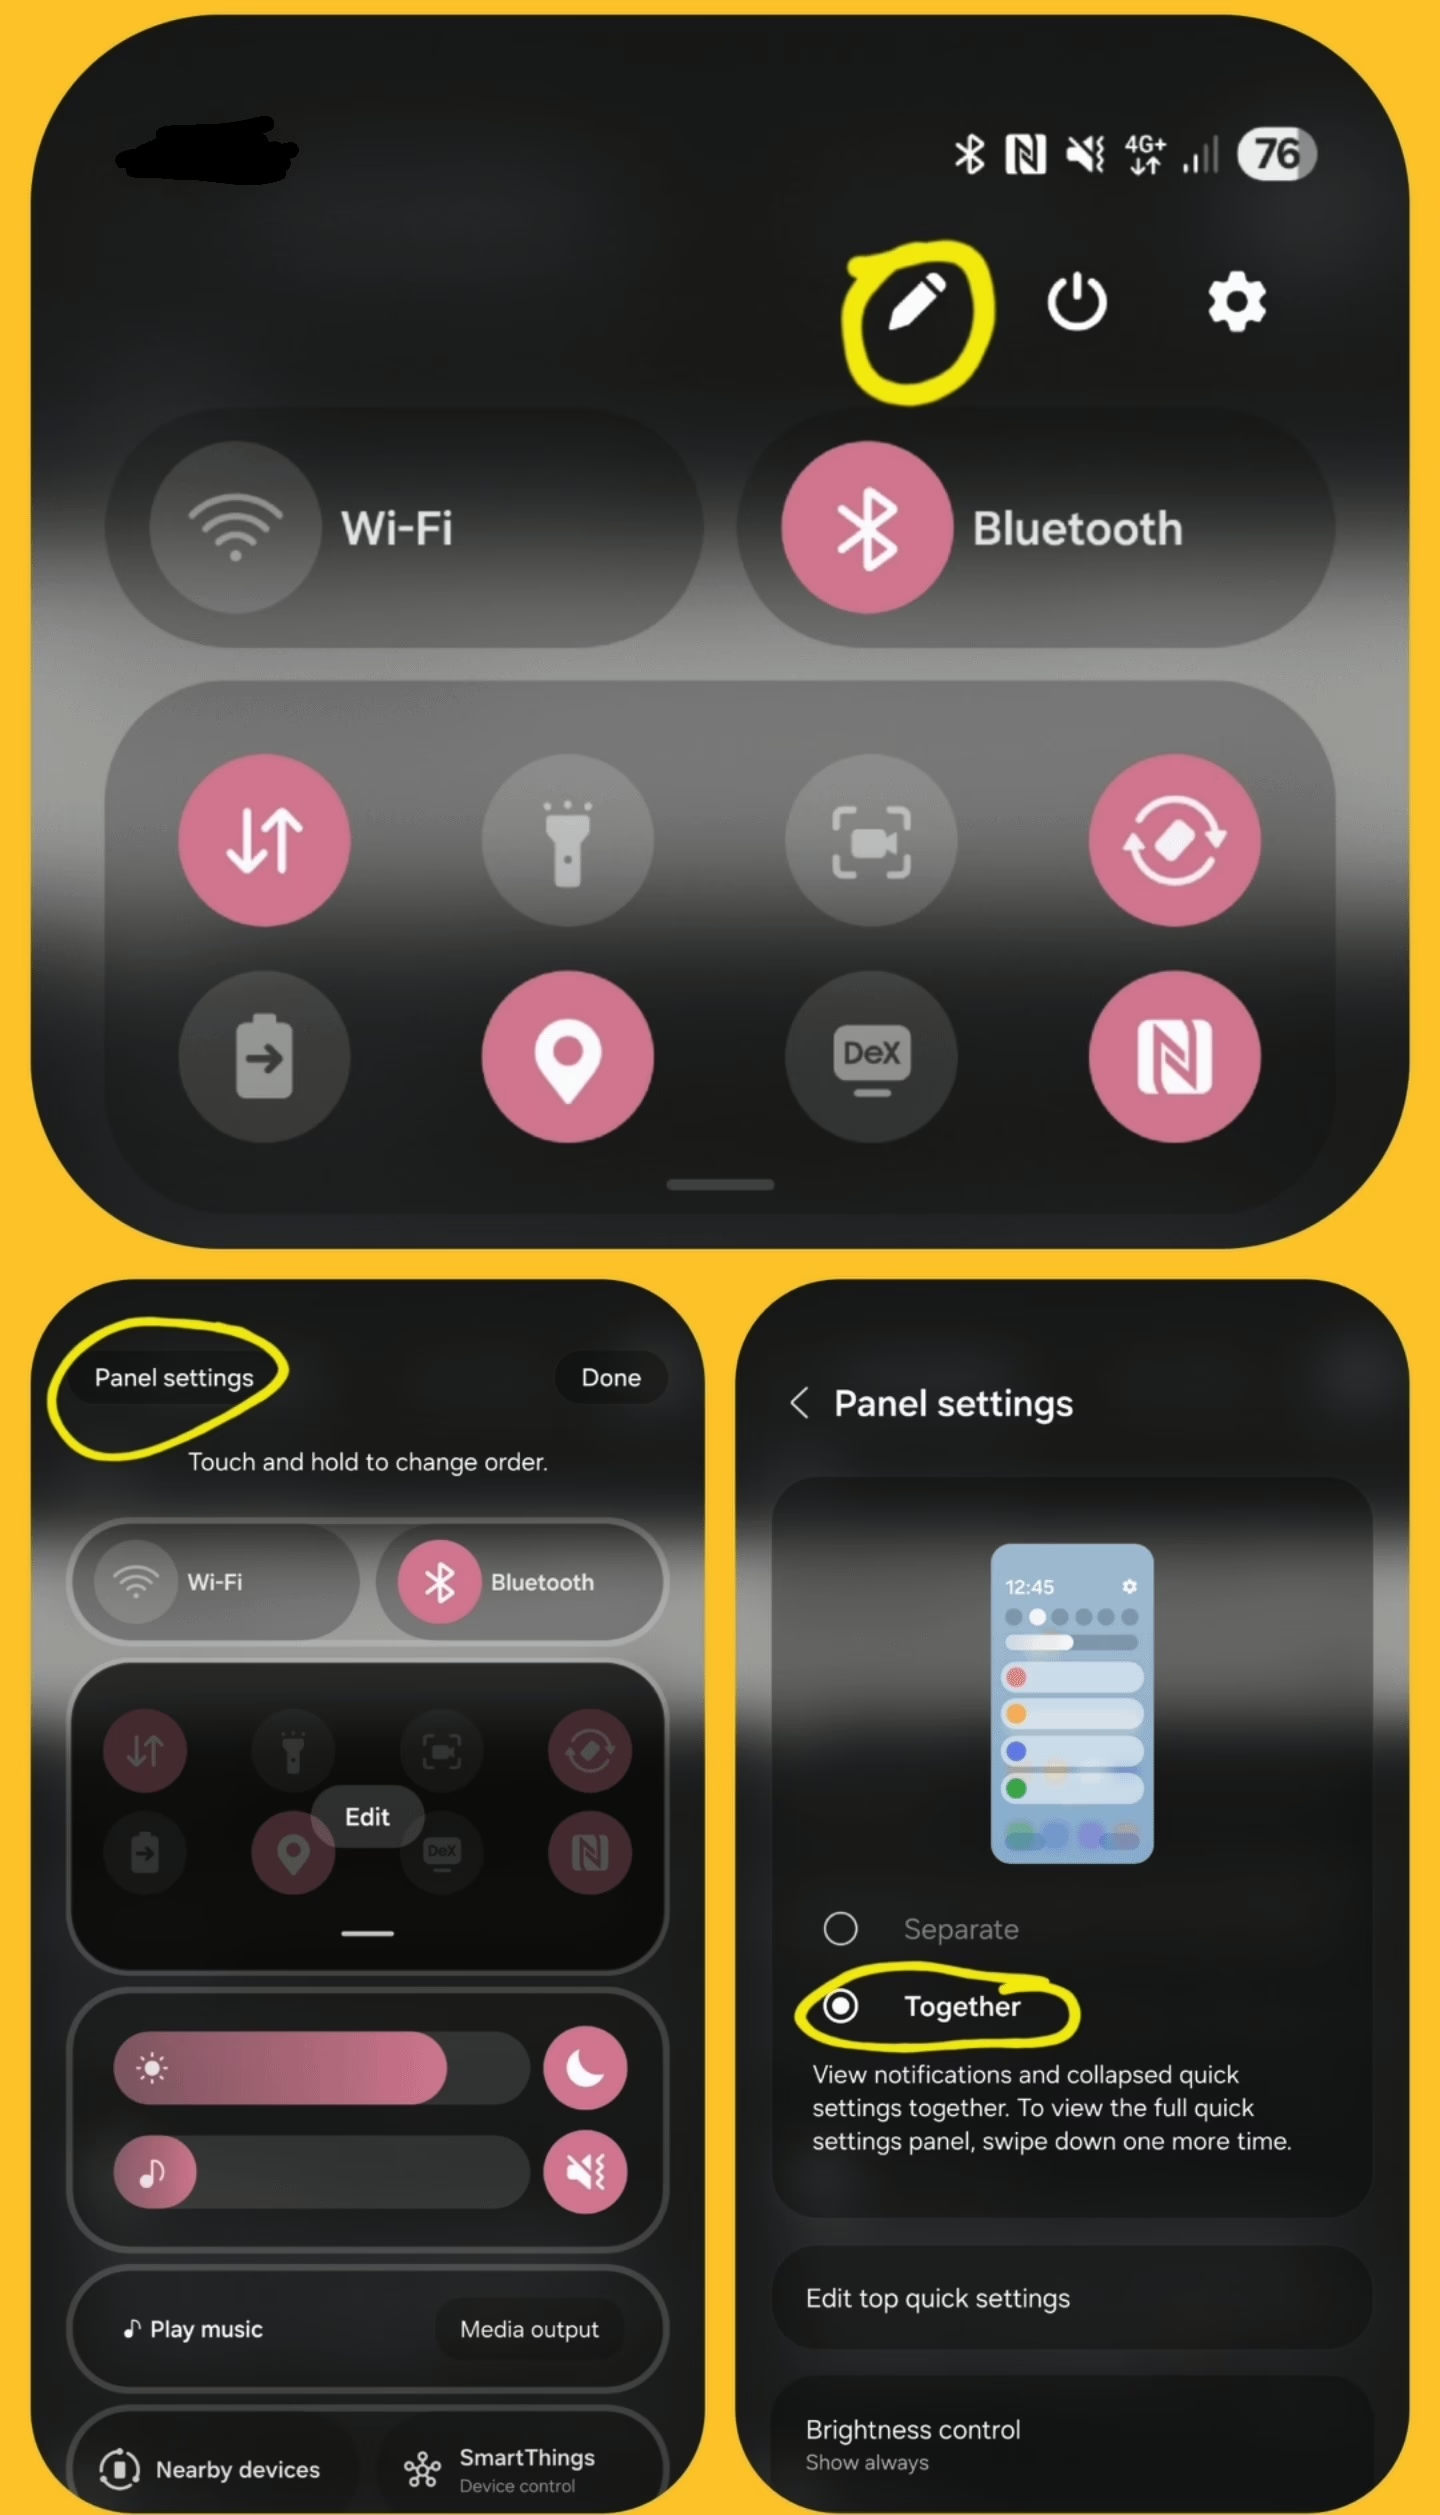
The first and most annoying, change was to the notifications when you pull down on the screen. There’s no sign of the quick settings anywhere. It turns out you have to pull down from the top right. This comment on Reddit explains how to fix it by:

  • Tapping the pencil icon.
  • Going into panel settings.
  • Change it from Separate to Together.

The other annoyance is the three rows at the end of the quick settings panel.

  • Play music / Media output
  • Nearby devices / SmartThings
  • Smart View / Modes

You can sort the order they appear in, but you can’t remove them. I never use them. Annoying.

The camera is fine. The UI has been changed a little. I haven’t noticed any change in picture quality yet.

I’m glad the apps drawer in the default launcher can now be scrolled vertically again. That is a feature of almost all third-party launchers, and “Home Up” used to enable it, but One UI 6 removed it years ago.

I had to delete my phone from my car’s Android Auto interface to get it to connect reliably again. I should say “reliably” with quotes because Škoda cars seem to have problems with this phone (or at least the 2020 Kamiq does), and I had to buy an Android Auto dongle to make it work. Thankfully, the new version of Android seems to work ok with the dongle.

The “do not disturb” Meeting widget is now two spaces big for no reason,

I like the UI refresh, the rounded corners are nice.

Resize Images with Tasker

Motivated by the change in Google Photos that stopped offering “free storage” I worked on a script that would resize images on my Android phone and released the first version in November 2022. The script requires Tasker to run.

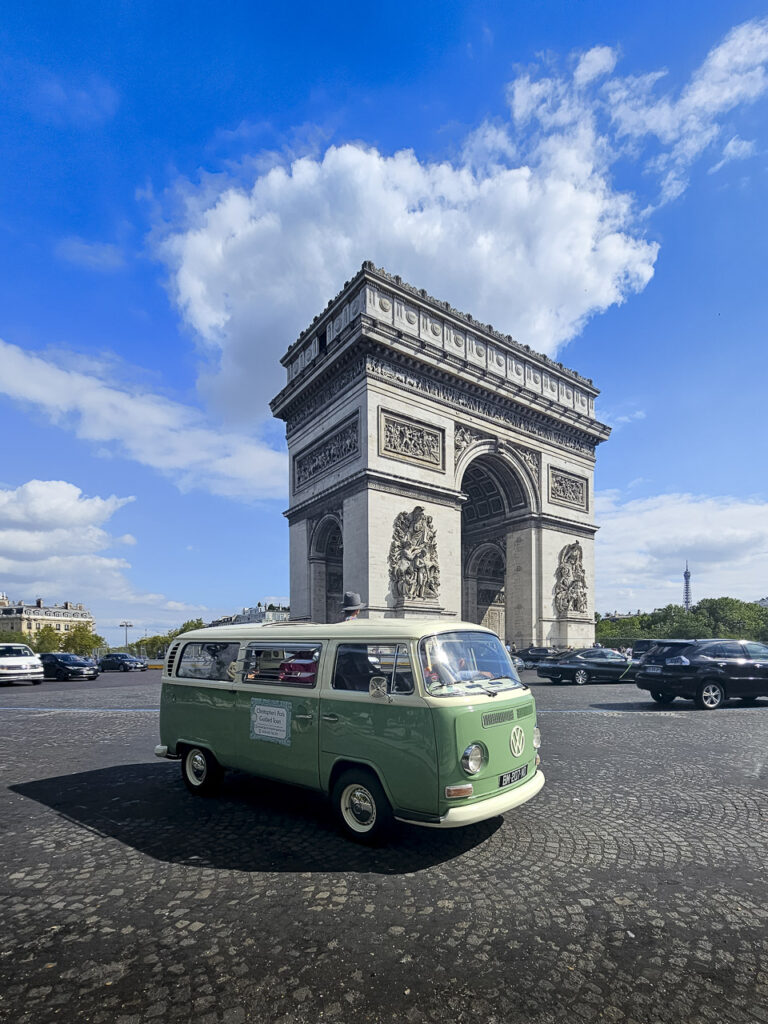
The Arc de Triomphe in France photographed on my phone.

There were a couple of problems with it, however. I wasn’t entirely happy with the workflow.

  • Images were deleted from DCIM/Camera immediately (and moved elsewhere), making it impossible to review the image I just photographed in the camera gallery.
  • When I opened the gallery app separately, the resized images wouldn’t show until some time later, or not at all. I verified the files were there using a file manager. Android’s media system just didn’t know about them.

I put up with these downsides for quite a while, occasionally researching how to fix the disappearing image problem, but I couldn’t find any good answer until last month.

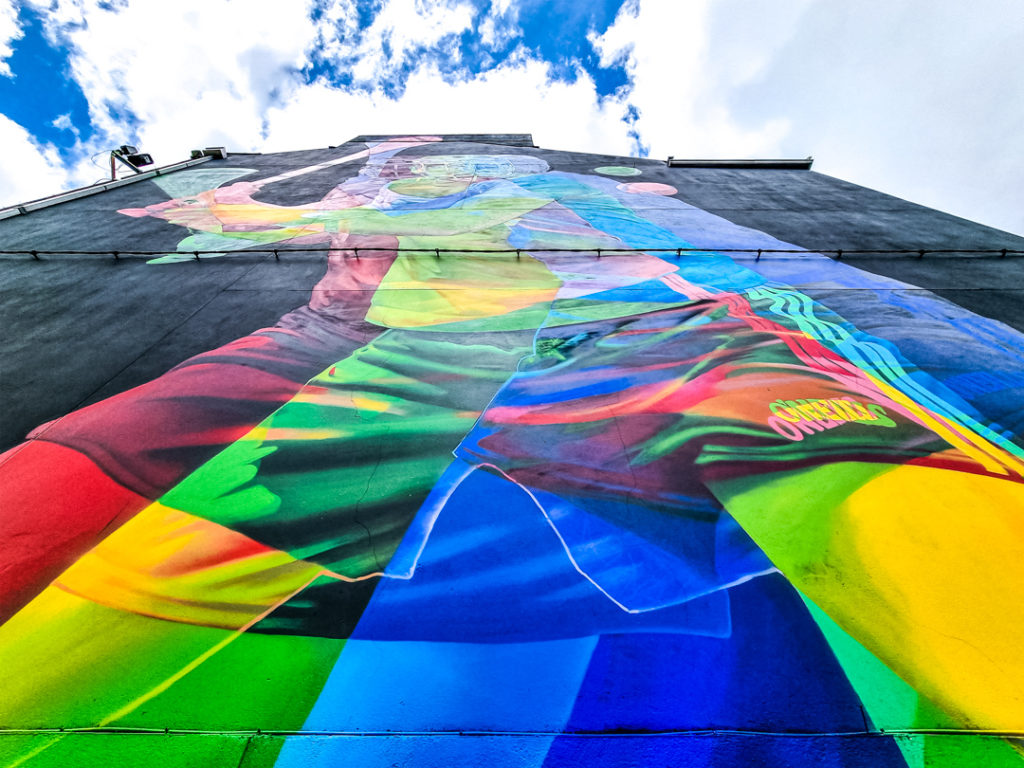
A leprechaun dances on the street.

I found out that Tasker must run the “Media Scan” command when it creates a new image file. The documentation says you can give it a directory, but that didn’t work for me. When I gave it the filename of the newly created image, it all worked! The image appeared in my gallery apps immediately!

Next up was the problem with deleted images. Originally, I moved the files into a “work in progress” directory to easily work on them, but if I left them in DCIM/Camera, I could check if a file of the same name existed in DCIM/Resized/. If it didn’t, then it’s time for a new file!

That did leave the problem that files were left in DCIM/Camera. Some of which might have been resized, some not. (It happens if I burst mode photos, where the task starts and works while new files are being created. It doesn’t catch the very new files). I created a new task “Photo Backup” that simply runs the resize task, and then runs the shell command “mv” to move all the Jpg files to where Lightroom will see them on my computer. I added that task to my launcher with an icon. I tap that when I get home and within a few minutes, the files are synced to my computer, using Syncthing.

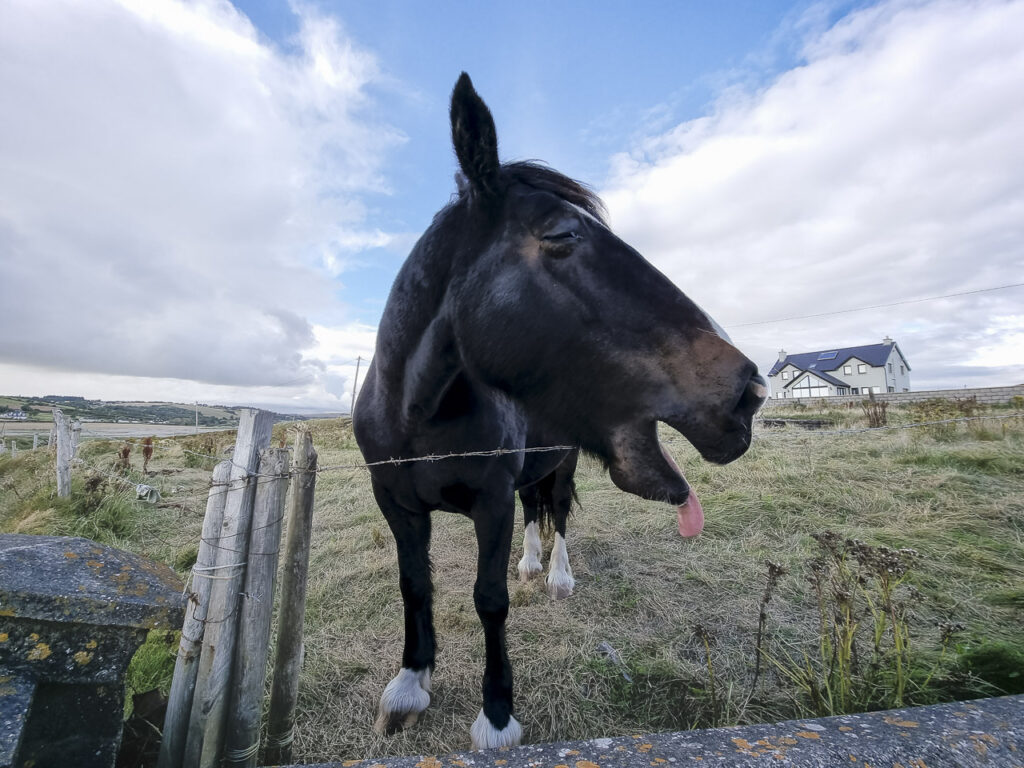
A horse in a field

To better track changes, I’ve uploaded the task to GitHub in this Resize Images task for Tasker repository. All development happens on my phone, and I’ll publish it to Taskernet first, but then changes will be copied there.

To install the task, go to the Taskernet page for it on your phone and click on Import. You can also manually import the .xml file if you like. How you use the task is up to you, but I created a profile that uses the “File Modified” event, and gave it “DCIM/Camera” as the File. The action to fire is the “Resize Jpeg Files And Leave Originals” task listed here.

Save space by resizing Google Photos

On the 1st of June 2021, Google Photos stopped offering free storage.

Google Photos is a fantastic service, but at the rate I take photos I knew I’d fill the remaining gigabytes of storage in a matter of months, so I stopped uploading photos from my phone.

I don’t regard Google Photos as a backup system for my photos. I use Backblaze for that, where everything is backed up from my desktop computer. Google Photos is very useful for sharing albums, the face recognition is amazing, and utilities like HDR photo generation and time lapses are nice bonuses.

In Lightroom, I would resize images to 16MP before uploading them to Google Photos. Those files are still huge compared to what you really need. They are likely only going to be seen on a screen, either phone or laptop. So recently I started to resize them to 1280 pixels on the longest side. Instead of a 6,000Kb file, I now upload a 600Kb file. On my phone screen it looks much the same, and I have the original on my computer anyway!

What I really wanted is for my phone to resize the images I shoot and then allow Google Photos to upload them. It would have to do something like this:

  1. Check the DCIM/Camera directory for new photos, and move them to a work directory.
  2. Go through those images, resize them and copy the location EXIF data from the original images.
  3. Save the resized images to a new directory in DCIM where Google Photos will back them up.
  4. Some time later, those resized images should be deleted when we’re sure they’ve been backed up.

With the help of Tasker, an Android app, I was able to do that, and more. Tasker is a tool that lets you automate tasks on your phone. It can do simple things like enable screen rotation when Google Photos or Lightroom are launched. Or it can disable your Wi-Fi if you leave the house.

First, the bad news. The Tasker app costs money, and it’s complicated to use. However, it’s not expensive and there are lots of public Tasker projects on their Taskernet website, which means you probably won’t need to delve into the complexity of it. Much.

Over the course of a few weeks I figured out how to program Tasker to do what I wanted, and if you look at my Taskernet Profile you’ll see the result of that work. The final work on copying the EXIF data took me three hours on the train back from Dublin, and then a hint on Reddit to complete.

The Resize Images for Google Photos Tasker profile does exactly what it says. It moves new photos out of the way, resizes them, and copies the location data to the new files. The original files are moved to Download/jpeg. Finally, it saves the resized images back in a DCIM directory, where Google Photos will find them and upload them.

Every time a photo is taken, it checks if any existing resized photo is more than 7 days old and deletes it, which should be more than enough time for it to be uploaded to Google Photos.

It also moves MP4 files out of the way to Download/jpeg because MP4 files can be huge! You could resize those with Handbrake on your desktop machine before uploading to Google Photos.

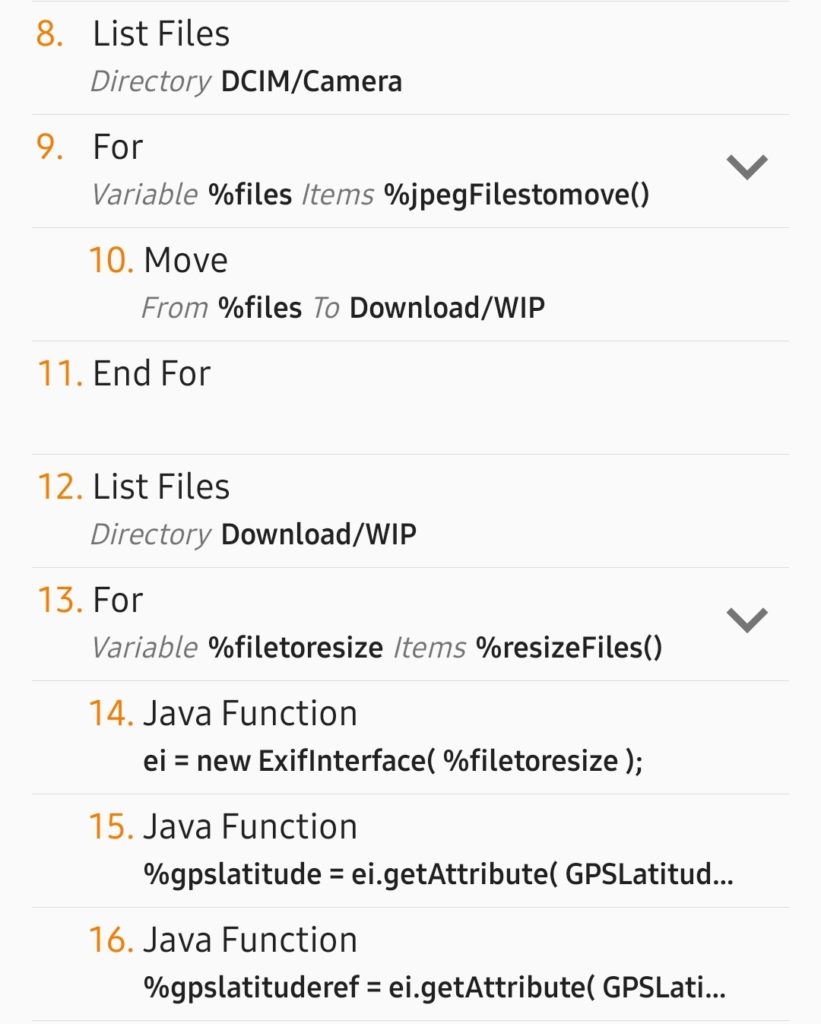
Tasker task source code

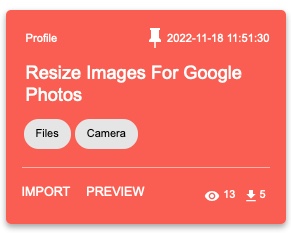
You install it through Tasker itself or by loading this blog post on your phone. Tap on this Resize Images for Google Photos link, which will bring you to Taskernet. You can also find it by searching for the tags, Files and Camera.

Read the description, and please make a backup of your photos first. Tap Import and Tasker will load. A warning about the commands used now shows.

It does execute Java code, but that’s only to copy the EXIF data to the resized images. It uses shell commands to move files around or delete thumbnails and old files.

When it asks for the profile, just tap on Base, if you don’t have any others. If you are worried about running unknown code on your phone, don’t enable it. Take a look at the “Resize Jpeg Files” task. You can see all 39 lines of code.

Some notes on implementation:

  • The profile monitors the DCIM/Camera directory for new files. If your favourite camera app puts photos somewhere else, they won’t be found.
  • Some paths are hard coded. The ExifInterface library requires a filename. It expects that the Resized directory is in /storage/emulated/0/DCIM/. If it isn’t there, edit line 25. Three shell commands run at the end and use /sdcard/DCIM/. That should be edited too if necessary.
  • Photos are moved to Download/WIP to be resized.
  • After resizing, they are saved to DCIM/Resized.
  • Photos are resized to a maximum width of 1280px, so portrait orientation images will be bigger.
  • Your gallery app will show the resized images as duplicates unless you can hide the Resized directory.
  • The gallery in your camera app is going to show broken images. Your favourite gallery app may not even show the images. I find the Piktures app regenerates the thumbnails properly, but the Samsung and Xiaomi gallery apps don’t. Neither does Google Photos, so if anyone knows how to fix that, I’m all ears!

This might seem like a lot of trouble to save some space in my Google account, but this is something Google could have done themselves. Sure, they have the storage saver setting. That resizes large photos down to 16MP but, even saved in WebP format or something, the files are fairly big. It was an itch I had to fix. Besides all that, Tasker is a very powerful tool that I wanted to use more!

My photos don’t stay on my phone. I use Syncthing to synchronise a few different directories with my desktop machine. Every few days I import them into Lightroom. Importing them moves them, and being removed from the Camera directory is synchronised back to the phone, so the photos are deleted from the phone. From Lightroom they’re backed up in various ways. I actually run a small shell script to move photos taken by various apps into one directory, and check if duplicate DNG/Jpeg files exist, but that’s a topic for another blog post.
Building the MP3mobile

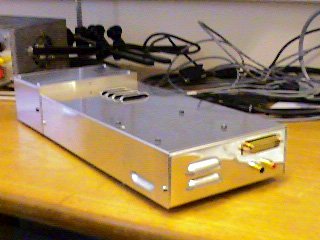
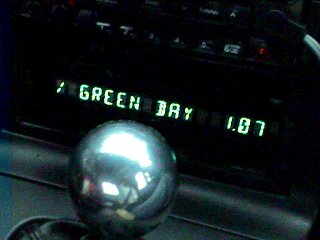
Apart from hoarding driver CDs and diskettes in 1999 I also printed out a huge number of pro-Linux news articles. One of those was this page on building an MP3 player for a car called The MP3mobile.

Over the years I had grappled with the idea of adding an MP3 player to whatever my current car was but never really got anywhere but the MP3mobile was the initial source of inspiration for this idea.

The furthest I ever got with the idea was using a portable MP3 CD player but that didn’t work too well:

  1. Bumps in the road caused skips.
  2. Irish roads are bumpy.
  3. More skips.

It’s funny now to see what the MP3mobile can do, but back then this was highly impressive.

The final result is immensely wonderful, and impresses the hell out of most hackerish people (like me). Non-computer people just wonder why you havn’t got a CD player. But, with my setup (based on RedHat Linux 5.0) I can do these things:

* NFS mount my car from my laptop (there’s a loose 10-base-T cable behind the drivers seat) and squirt new tunes into it.

* Hook up my GSM-modem to the car (so you can telnet into it and run emacs at 60mph 🙂 ).

* Hook up a GPS unit, so you could finger the car and find out exactly where a car full of computer equipment suitable for stealing is located.

* Compile as I go round bends.

* Coredump as I change gear 🙂

None of these things can be done with an autochanger. Sorry, but you lose 🙂

Future plans include:

* 418Mhz low-power radio link to allow me to upgrade the software when the car is in the garage 30m or so from the flat.
* Link into the car’s engine management to monitor boost pressure, etc
* Voice-command of the music functions.

The machine ran off a Pentium 166MMX CPU, and had a 2.5″ laptop drive with a massive 2.1GB of storage space.

It all seems so quaint and obsolete now doesn’t it? That may well be how your current state of the art tech appears in another twenty years!

In the time since then the rise of smart phones led to miniaturisation, better screens and power efficient computers. A few years later a Raspberry Pi or Android phone would have been a suitable replacement for the device. And later still Android Auto or Car Play would make the job of playing your own media even easier.

If you use an Android phone, then your car stereo could run Linux, at least through Android Auto as your phone has a Linux kernel!

How I fixed the silent timer in Google Clock

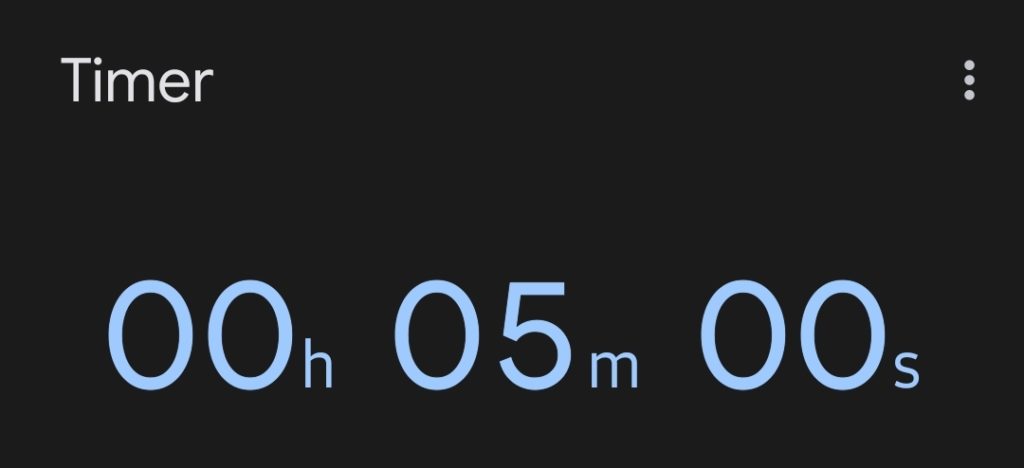
The timer in Google Clock didn’t go off when the timer ran out. There was no alarm or notification buzz when I needed it. I’m posting this here in case this happens to anyone else because this was happening to me for a long time. I use the timer on my phone a lot, especially when doing a little cooking:

  • Put Y on at 200C in the oven.
  • Everything done at 50 minutes.
  • Put X in the oven at 40 minute mark.
  • Bring water to the boil at 15 minute mark.
  • Boil some veg..

You get the idea. It’s nothing revolutionary and it worked for years. In the last year or so I found that the timer would not make a sound unless I unlocked the phone and the screen was on.

I searched in vain for a solution. Most search results suggested clearing app data or resetting the phone. Clearing app data did nothing and I did not fancy setting up my phone again.

Until finally, I found a fix on Reddit. Optimize Battery Usage was the culprit. The operating system was turning off the alarm as it put the clock app to sleep when the phone screen turned off. Here’s how to fix it (pre-Android 12):

  1. Go to settings -> Apps.
  2. Tap the 3 dots, then “Special access”.
  3. Optimize battery usage.
  4. Change the filter to all, find Google Clock, and uncheck it.

In One UI 4, Android 12 things changed a bit:

  1. Go to Settings -> Apps.
  2. Look for Google Clock and open the settings for it.
  3. Tap on Battery.
  4. Change that setting from Optimized to Unrestricted.

The Samsung Clock app worked all this time but setting a timer is horrendous. You have to flick hour/minute/second rollers up and down instead of tapping the numbers I wanted.

I may have “optimized” the Clock app myself by accident but I don’t remember doing that. Other people have had this problem too so it’s not an isolated issue.

I bet this will help someone else. I did a little dance when the timer started working again.

Otterbox Strada Unintentional Drop Test

I upgraded to a Samsung Galaxy S9+ a few weeks ago. I’ve always used a case on my phones but the screen on my last phone cracked after falling about 40cm onto a tiled floor. For this phone I wanted a bit more protection. I bought a number of cases, most cheap with the most expensive being the Otterbox Strada.

I’m not a fan of folio cases:

  • The front cover has to be opened to use the device.
  • The finger print reader can’t be used if the cover is tucked in the back.
  • If you’re taking a photo the cover has to be held upright out of the shot.
  • The volume up and down buttons in this case are too hard to feel. I bought the Edge Gestures app so I could easily change the volume when my phone is on my desk.

However, all is forgiven. This morning I was putting my phone in my shirt pocket when the pocket didn’t open as expected (ironically, partly due to the size of the case) and my phone fell to the tiled kitchen floor. It probably fell 140cm, hitting the floor at the bottom corner of the device. It bounced and landed on the front closed surface of the case.

I was expecting the worst but there isn’t even a scratch on the phone! I’m sure it’s partly luck that it fell in the right way but this case just saved me a €250 screen replacement so I’m happy!

Here’s a video review of the case by someone on Youtube:


My S7Edge gets the April Update

My Samsung Galaxy S7 Edge is now installing the April 1st update. It got Oreo a few months back and a few updates since. Going by Samsung’s track record I expect those updates to dry up any time soon but it’s good to see them still handing out any sort of updates.

In case you’re wondering, this is the unlocked international variant.

Version installed: G935FXXU2EREM/G935FOXA2EREM/G935FXXU2ERD6

Move DNG files when the Android camera exits

Many Android phones can shoot RAW photos now but some of them will record a Jpeg file at the same time. This didn’t bother me until Google Photos started backing up DNG files, but it would back up the Jpeg files too so I ended up with duplicate images. I created a FolderSync shortcut to move the DNG files out of the DCIM/Camera/ directory but of course half the time I’d forget and duplicates would end up on Google.

I bought Tasker a few weeks ago when it was finally on sale, but only used it for one task, to auto rotate the Maps application, but then this morning I realised I could use it to fix up my DNG files!

So, here’s the task I created with much help from various forum threads, especially this one. I added it as an exit task for the Samsung Camera app which at least ensures I won’t need to remember to move files around any more. It would be handy to fire it every time a photo was taken but this is a good start.

Move DNG Files
A1: List Files [ Dir:DCIM/Camera Match:*.dng Include Hidden Files:Off Use Root:Off Sort Select:Alphabetic Variable:%Filestomove ]
A2: For [ Variable:%Files Items:%Filestomove() ]
A3: Move [ From:%Files To:dng Use Root:Off ]
A4: End For

I did try adding a flash notification if %Filestomove was set but it never worked and I don’t know why. If any Tasker experts want to chime in I’d love to hear how to get that working!

Sync and Backup Photos from your Android Phone

I’m a big fan of Android smart phones, but backing up photos or files has always been something that has worried me. Different manufacturers have different backup apps. A Samsung phone uses Samsung Kies, a HTC phone uses HTC Backup. Google offers cloud backup of app data if the app supports it. Google Photos will backup your photos, but they’re compressed even more unless you pay for the service (which is perfectly fair). It’s a mixed bag.

So, I’m going to tell you how I backup my phone photos, and you can do this with (probably) any Android phone. I use FolderSync to move photos off my phone and on to my laptop for safe keeping and permanent storage. I don’t like leaving photos on my phone. The phone fills up and I can’t take any more photos!

FolderSync comes in two flavours, a free lite version, and a paid version. The paid version has a few more features and doesn’t display adverts but you’ll be able to do most things with the free version too. I originally paid for the app so I could use filters but I don’t use them any more.

I love having all my photos available on Google Photos, so after a day of taking photos I’ll keep an eye on that app and wait for everything to be uploaded there. When it’s done, I tap on a “Sync All” icon on my phone and then my photos are copied over to my laptop using the local wifi network and deleted off my phone.
The photos end up in a directory on my laptop called “00-mobile-import” where I’ll point Lightroom at to import the photos. I have a Lightroom import profile for those photos and they get moved to dated folders and tagged appropriately. Lightroom doesn’t support GIFs but every now and again I’ll check that folder and move them to their own area for safe keeping.

Configuring FolderSync can be daunting, but you’ll go through these steps:

  1. Set up an account. This is how you access your laptop or computer. Usually you’ll use a Windows share (SMB/CIFS) but I’ve discovered that Macs use a newer version of that protocol that Android doesn’t understand so I use SFTP (Secure FTP) instead. You’ll want to share a folder or enable SFTP on your computer first of course. You can even backup to Dropbox or other cloud service.
  2. Next up is a folderpair. This is how you connect a folder on your phone with a folder on your computer. You can schedule backups, force the use of a certain wifi network, and change many other options here.
  3. Create a “Sync All” shortcut on your phone launcher.

The FolderSync Help Page is slightly out of date but has lots of screenshots and information about configuring it.

Apart from moving my photos to my laptop, I also use FolderSync to sync a folder of wallpapers from my laptop. I also use it to overcome a bug in Google Photos. I move RAW DNG files out of the default DCIM/Camera folder (to a different folder on my phone) as Google Photos now backs them up but doesn’t realise that the Jpeg files of the same names are the same photo. FolderSync has a feature to watch a folder but it doesn’t work on that particular folder so I manually tap another sync icon before I get home so only the Jpeg files are backed up by Google Photos. My “Sync All” shortcut also moves the DNG files to my laptop, where I delete the duplicate Jpeg files with a script but that’s for another blog post..

Howtogeek has an article on configuring it, and many years ago Android Police gushed about FolderSync, describing it as follows:

Alright, control freaks (otherwise known as “my people”), this one’s for you. FolderSync is a fantastic little app we’ve just discovered that lets users sync folders between local storage and a number of online storage services. The app supports one- or two-way sync and provides a host of settings to tweak the app to all your sync needs.

If you have an Android phone, if you take photos, if you want to back them up, get FolderSync.