Restore terminal access to Dropbox on macOS

Dropbox just updated and moved the Dropbox folder to ~/Library/CloudStorage/Dropbox, a secure location. There is still a symlink from ~/Dropbox to that folder, so hopefully any local scripts will continue working.

The first thing I did was open an iTerm2 and attempt to look in ~/Dropbox with cd Dropbox. As it is hard-coded in my brain, when I change to a new directory, I will want to see what’s in it, so I immediately typed ls -l. Too fast for my own good, as I noticed the flicker of a dialogue appear and disappear when I tapped the return key.

~/Dropbox » ls
ls: cannot open directory ‘.’: Operation not permitted

I had denied iTerm2 access to the Dropbox directory. Oops.

Thankfully, it’s easy to fix. Open up the Security & Privacy settings in System Preferences. Go to the Privacy tab.

Click on Files and Folders and scroll down to your terminal programme.

You’ll see a new checkbox there for Dropbox. Click the lock to authenticate and click the Dropbox checkbox.

Go back to your terminal, and you’ll be able to see what’s in ~/Dropbox once again.

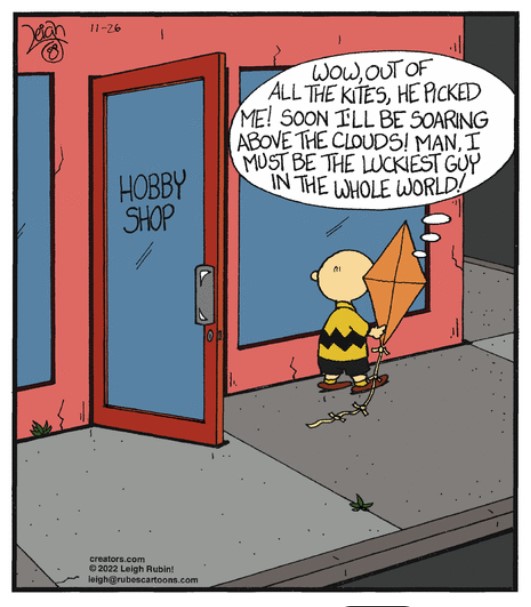
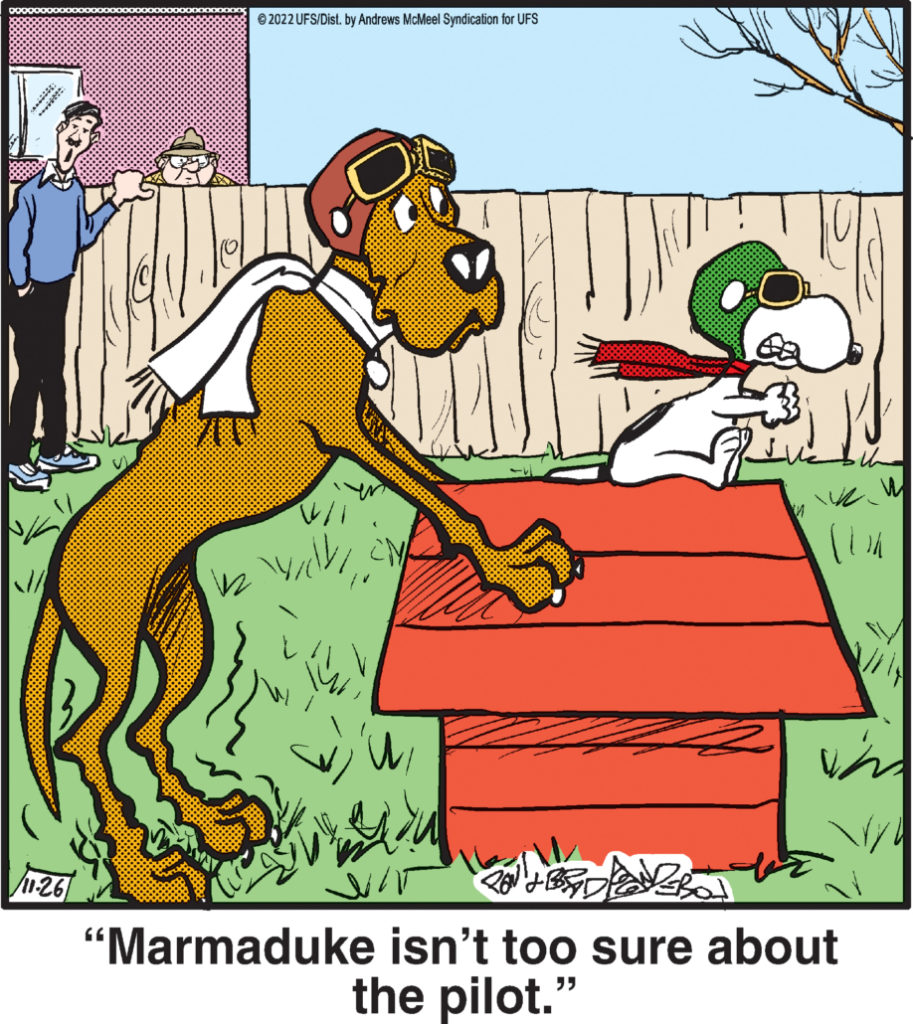
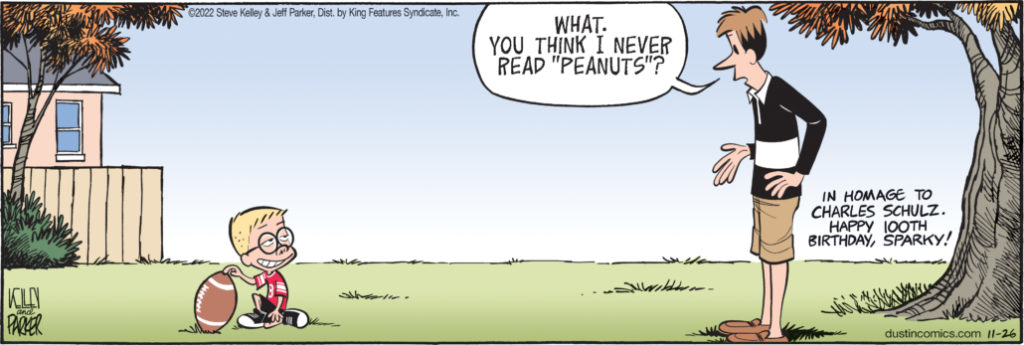
A tribute to Charles M. Schulz

Yesterday would have been Charles’ 100th birthday. He is the creator of the Peanuts cartoon strip, you know, the one with Snoopy and Charlie Brown! Charles passed away in 2000 at the age of 77, but yesterday the Charles M. Schulz Museum featured comics by syndicated comic artists on their site as a special tribute to the great man.

There are some great strips there and if you’re a Peanuts fan you’ll love them. I must find my Peanuts books and have a look at them again.

Save space by resizing Google Photos

On the 1st of June 2021, Google Photos stopped offering free storage.

Google Photos is a fantastic service, but at the rate I take photos I knew I’d fill the remaining gigabytes of storage in a matter of months, so I stopped uploading photos from my phone.

I don’t regard Google Photos as a backup system for my photos. I use Backblaze for that, where everything is backed up from my desktop computer. Google Photos is very useful for sharing albums, the face recognition is amazing, and utilities like HDR photo generation and time lapses are nice bonuses.

In Lightroom, I would resize images to 16MP before uploading them to Google Photos. Those files are still huge compared to what you really need. They are likely only going to be seen on a screen, either phone or laptop. So recently I started to resize them to 1280 pixels on the longest side. Instead of a 6,000Kb file, I now upload a 600Kb file. On my phone screen it looks much the same, and I have the original on my computer anyway!

What I really wanted is for my phone to resize the images I shoot and then allow Google Photos to upload them. It would have to do something like this:

  1. Check the DCIM/Camera directory for new photos, and move them to a work directory.
  2. Go through those images, resize them and copy the location EXIF data from the original images.
  3. Save the resized images to a new directory in DCIM where Google Photos will back them up.
  4. Some time later, those resized images should be deleted when we’re sure they’ve been backed up.

With the help of Tasker, an Android app, I was able to do that, and more. Tasker is a tool that lets you automate tasks on your phone. It can do simple things like enable screen rotation when Google Photos or Lightroom are launched. Or it can disable your Wi-Fi if you leave the house.

First, the bad news. The Tasker app costs money, and it’s complicated to use. However, it’s not expensive and there are lots of public Tasker projects on their Taskernet website, which means you probably won’t need to delve into the complexity of it. Much.

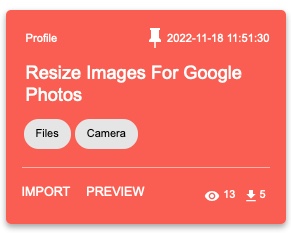
Over the course of a few weeks I figured out how to program Tasker to do what I wanted, and if you look at my Taskernet Profile you’ll see the result of that work. The final work on copying the EXIF data took me three hours on the train back from Dublin, and then a hint on Reddit to complete.

The Resize Images for Google Photos Tasker profile does exactly what it says. It moves new photos out of the way, resizes them, and copies the location data to the new files. The original files are moved to Download/jpeg. Finally, it saves the resized images back in a DCIM directory, where Google Photos will find them and upload them.

Every time a photo is taken, it checks if any existing resized photo is more than 7 days old and deletes it, which should be more than enough time for it to be uploaded to Google Photos.

It also moves MP4 files out of the way to Download/jpeg because MP4 files can be huge! You could resize those with Handbrake on your desktop machine before uploading to Google Photos.

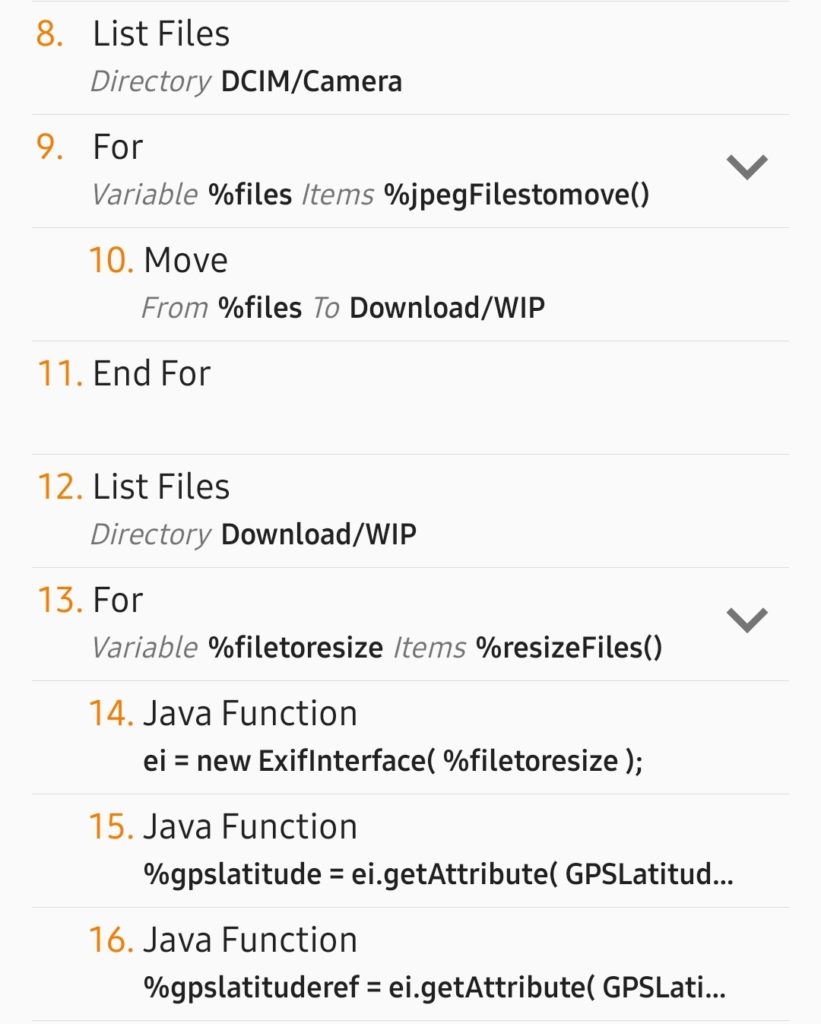
Tasker task source code

You install it through Tasker itself or by loading this blog post on your phone. Tap on this Resize Images for Google Photos link, which will bring you to Taskernet. You can also find it by searching for the tags, Files and Camera.

Read the description, and please make a backup of your photos first. Tap Import and Tasker will load. A warning about the commands used now shows.

It does execute Java code, but that’s only to copy the EXIF data to the resized images. It uses shell commands to move files around or delete thumbnails and old files.

When it asks for the profile, just tap on Base, if you don’t have any others. If you are worried about running unknown code on your phone, don’t enable it. Take a look at the “Resize Jpeg Files” task. You can see all 39 lines of code.

Some notes on implementation:

  • The profile monitors the DCIM/Camera directory for new files. If your favourite camera app puts photos somewhere else, they won’t be found.
  • Some paths are hard coded. The ExifInterface library requires a filename. It expects that the Resized directory is in /storage/emulated/0/DCIM/. If it isn’t there, edit line 25. Three shell commands run at the end and use /sdcard/DCIM/. That should be edited too if necessary.
  • Photos are moved to Download/WIP to be resized.
  • After resizing, they are saved to DCIM/Resized.
  • Photos are resized to a maximum width of 1280px, so portrait orientation images will be bigger.
  • Your gallery app will show the resized images as duplicates unless you can hide the Resized directory.
  • The gallery in your camera app is going to show broken images. Your favourite gallery app may not even show the images. I find the Piktures app regenerates the thumbnails properly, but the Samsung and Xiaomi gallery apps don’t. Neither does Google Photos, so if anyone knows how to fix that, I’m all ears!

This might seem like a lot of trouble to save some space in my Google account, but this is something Google could have done themselves. Sure, they have the storage saver setting. That resizes large photos down to 16MP but, even saved in WebP format or something, the files are fairly big. It was an itch I had to fix. Besides all that, Tasker is a very powerful tool that I wanted to use more!

My photos don’t stay on my phone. I use Syncthing to synchronise a few different directories with my desktop machine. Every few days I import them into Lightroom. Importing them moves them, and being removed from the Camera directory is synchronised back to the phone, so the photos are deleted from the phone. From Lightroom they’re backed up in various ways. I actually run a small shell script to move photos taken by various apps into one directory, and check if duplicate DNG/Jpeg files exist, but that’s a topic for another blog post.

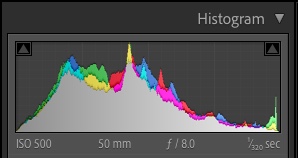
Drag the Lightroom Histogram

I discovered yesterday (or maybe rediscovered?) that you can drag the histogram in Lightroom to adjust the exposure of a photo.

From right to left, these are the sliders affected when you drag:

  • Blacks
  • Shadows
  • Exposure
  • Highlights
  • Whites

It can appear like a blunt, inaccurate tool to modify the exposure of a photo, but do it at least once, and you’ll get a better appreciation for what the histogram actually displays.

Originally shared on Mastodon yesterday.

It’s a Miracle, Another Post!

What! Two posts in one day? Well, I’ve been miserable with Covid-19 this week. But there is good news. Today is the day when Queen released The Miracle (Collectors Edition) which is a 4 disc compilation featuring the original tracks of the album. It’s the sessions disc that is getting my attention. There are great reworkings of the album songs, cleaned up demos, and well, Face it Alone, which in the context of the sessions, is not that bad.

I thought I was the only one who loved the original Party and Khashoggi’s Ship, but no, there are two of us out there! The new versions are so different. I’m sure they’ll grow on me. Listen to the full album on Spotify.

Make sure to read Gord’s reaction to The Miracle pt 1. Great post about the album, history and reception in the long distant late 80s.

Here’s part 2 of his look at The Miracle.

I loved this album when I first heard it in the early 90s, and this new iteration is great too!

Oh, and then there’s this amazing video for “Was It All Worth It?” Wow. Cheered me up to see all this today! Wow!

Play Queen Loud!

Edit: they totally auto-tuned Freddie Mercury’s voice in Face it Alone.

Day 5 of Covid-19

I managed to avoid Covid-19 all this time, but on Monday afternoon I started to come down with what I thought was a bad cold.

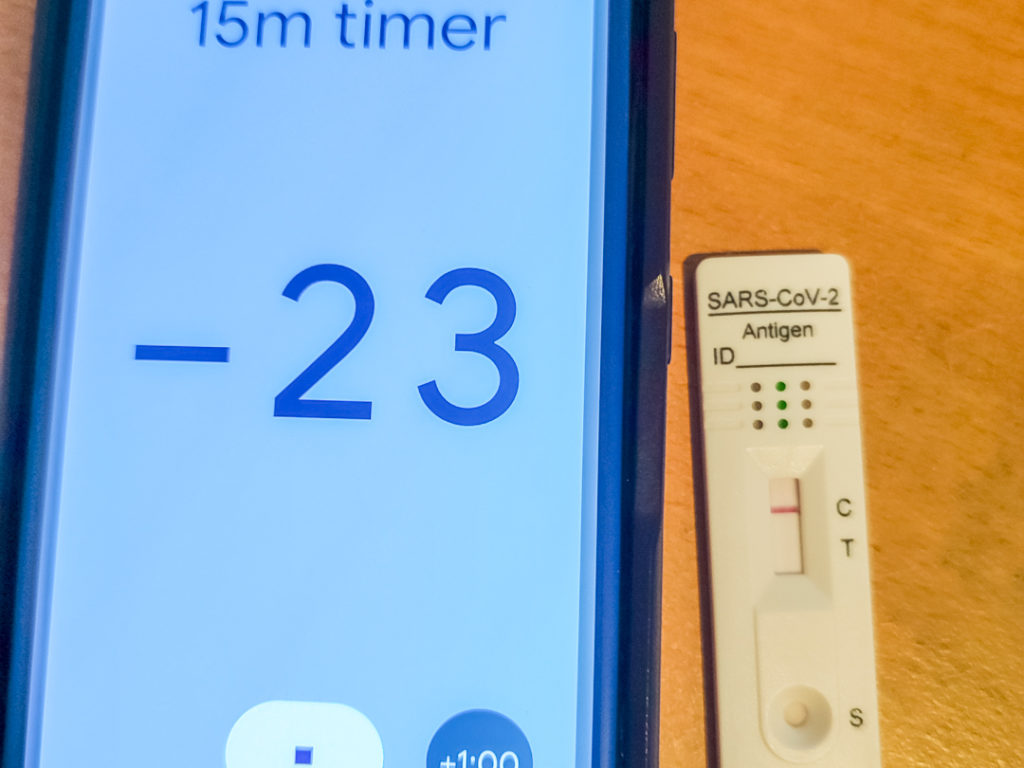
Monday night test. No photos of the positive tests on Wednesday.

The first few hours on Monday evening were the worst, with a dull headache, shakes, coughing, fever and tiredness forcing me to bed early. I got progressively better over the next few days, but there was still that wracking cough, congestion, fever, tiredness and the shakes that would strike randomly or all together.

I’m still isolating. If I dare speak too loudly, I’m wracked by coughing that almost has me doubled over. I can feel perfectly fine, but then a tickle starts in my throat, and I’m coughing again.

My wife has been amazing, caring for me. She is my rock through this time. Somehow, it appears I didn’t infect her. We spent 6 hours in the car together on Sunday. I tested myself on Monday, but it was negative. I should have worn a mask then, even with the negative result, but I didn’t. It wasn’t until Wednesday when the tests turned positive. My teenage son has escaped too, I hope!

Thankfully, I’m fully vaccinated. I don’t like to think what it would be like if I wasn’t.

Fingers crossed there are no long term effects.

How to add your blog to Mastodon

Introduction

Before we start, do you know what Mastodon is? It’s sort of like email, where you can send an email from gmail.com to a yahoo.com account, except it looks very like Twitter. This pcmag article is a good introduction to it. Jeff Jarvis wrote a good post too, and Time Magazine interviewed Eugen Rochko, the founder of Mastodon that you should read.

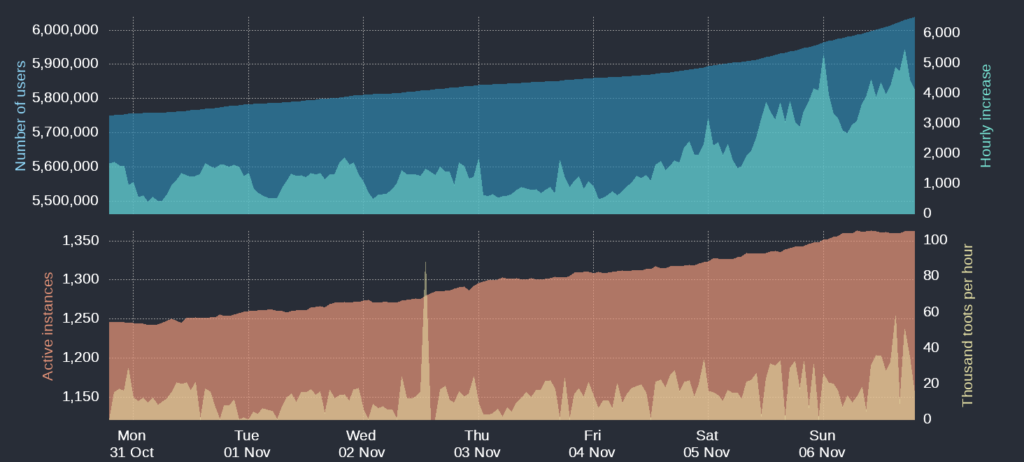
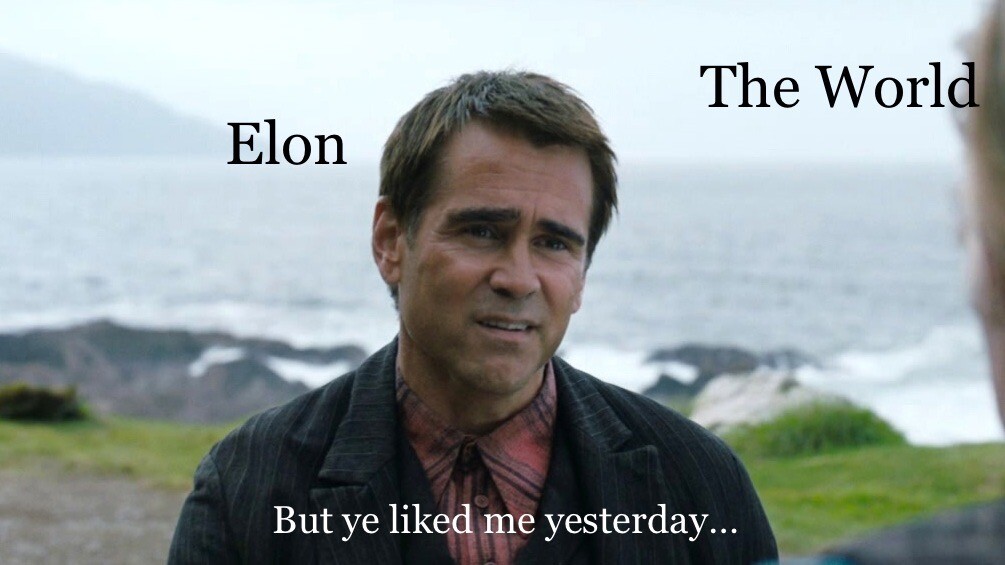
This weekend, a probably sizeable chunk of migrated to Mastodon. We’re not the only ones. Twitter has been getting more hateful and acting as an echo chamber for lots of horrible people over the years. The sale of Twitter to Elon Musk, the firing of half the staff, his pronouncements of “free speech” all point towards the site being less regulated, less maintained and less moderated. You can’t deal with complaints if there’s nobody there listening to complaints of harassment or hate.

(No we didn’t)

I don’t doubt that many of us will continue to visit and contribute to whatever Twitter becomes. Over the last few years, most of my interactions there have been publicising my blog posts. All I could see on there was angry tweets from different people, or people who were broadcasting their top ten ways of doing X, Y or Z. Hardly any actual conversation.

So, Mastodon. I woke up early on Saturday morning and discovered there was a to Mastodon. I already had an account on mastodon.social but Irish Twitter was moving to mastodon.ie, and that’s where I went too, creating @donncha@mastodon.ie.

Judging from what I’ve read elsewhere, all mastodon instances are experiencing a HUGE surge in user registrations as people look for an alternative to the stinking sinking ship that is Twitter.

On Saturday, the admins of mastodon.ie ran into performance difficulties as they dealt with the influx of new users. The site slowed down and people couldn’t upload images. Over 6,000 people are on that instance now.

Remember the early days of Twitter?

The admins increased their hosting plan, eventually maxing out at the top tier. To pay for hosting they asked for donations. Right now they have raised over €4100!

How do I add my WordPress blog to Mastodon?

It’s mostly straight forward. Install these two plugins:

  1. ActivityPub
  2. WebFinger

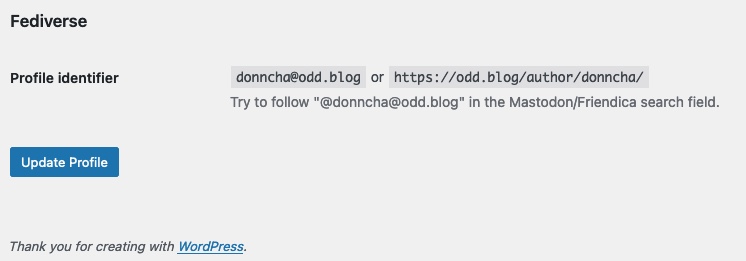
The installation instructions are unfortunately not great. After you install both plugins, go to your Profile page (Users->Profile) and scroll right to the end. Down there you will find your profile identifier. It will look like @author@hostname.tld. For this blog that is @donncha, and I have my photoblog at @donncha. Search for those on Mastodon and you will find my two blogs. Please feel free to follow!

When a post is made and shared on Mastodon, it allows others to reply. Those replies to the toot on Mastodon will be sent to your WordPress blog as a comment! That blew my mind when I discovered that!

Troubleshooting

I discovered that running the plugins on a multi-site WordPress install will cause problems. Instead of activating it on the root install, you need to activate it on each one. I presume that’s maybe because the rewrite rules are added on plugin activation, but that’s just a guess.

If you have caching you might want to turn it off, or at the very least disable caching in /.well-known/ as that’s where Mastodon and other services will query your server for updated information.

It can take 10 to 15 minutes before a new post is seen. Be patient!

Why not?

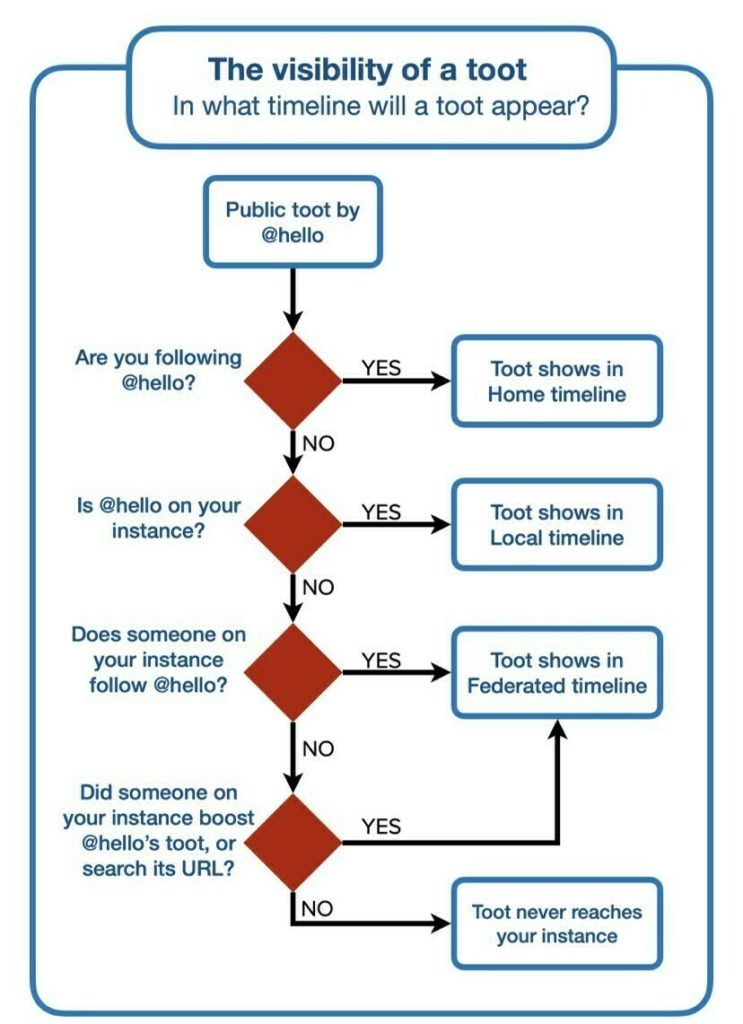
There’s one reason you might not want to do this. Your blog will be on a Fediverse instance by itself. Your blog posts will only show if someone is following it, or you boost the toots on Mastodon, or in the Federated feed. They won’t show in the Local Feed of your Mastodon instance. The best way around this is by careful use of relevant hashtags, but please don’t spam them, or you’ll be blocked.

Alternatives

You can hook your WordPress blog to your account too. I haven’t used them, but I saw two people use these plugins. Those posts will appear in the Local Feed of your Mastodon instance, which is a plus for discoverability.

  1. Mastodon Autopost
  2. Syndication Links

You can also use IFTTT if your site can’t run plugins, and you have an RSS feed. Some details in this blog post. Thanks Sandy for that link!
I’m very excited about this. Is it too early to say that there’s enough momentum to sustain a community? I hope it succeeds.

Edit: George has a guide on his blog explaining how to do the same thing but points out that you need the WebMention plugin to receive replies as comments. I saw replies to my toots appear here as comments, but only if they were direct replies. If I replied to someone who replied to my blog that reply wouldn’t show as a comment, and I just tested that again and WebMention doesn’t change that, unfortunately.

Matthew Thomas has created a remote follow tool called apfollow, with source available. This creates a page where you can follow a Mastodon account by entering your own details in a box and it redirects you to your home server to do the follow. Here’s a link to follow my Mastodon.ie account. It fails for me, but maybe that’s something to do with mastodon.ie settings. I’ll fill out a bug report but it looks promising.

Adjust the time on your camera for daylight saving

If you’re in this part of the world, then daylight savings means the clocks went back an hour last weekend. Your phone adjusted itself, as did some other gadgets, but your oven probably didn’t, and your camera almost certainly didn’t update either.

I couldn’t possibly describe how to fix the time on your camera, but on my Sony A7III I was able to disable “daylight savings time” and the time was corrected. I need to switch it back on next Spring, of course.

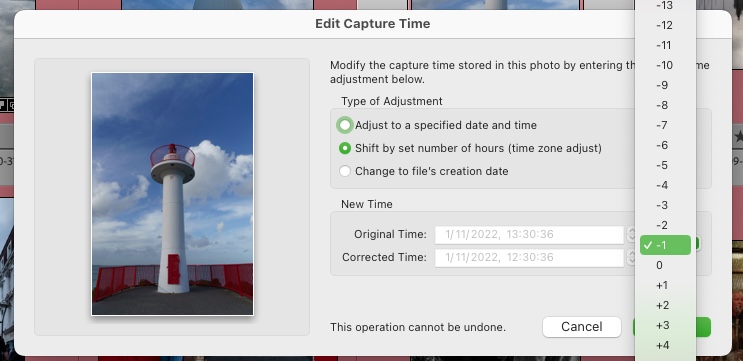
If, like me, you forgot to do that on Sunday morning, or even worse, you’re in the USA where they switched a few weeks ago, you can use a handy tool in Lightroom to fix the time on any photos you took. It’s in Metadata->Edit Capture Time… and you can adjust the time on multiple photos at a time.

Good thing too, as I had to adjust the time on several hundred photos.

Of course, if you’ve been travelling to another timezone and forgot to adjust your camera time, you should use “Edit Capture Time” to fix the time on those photos too. Years later, you’ll wonder why photos taken at noon are pitch black, and it wasn’t an eclipse…